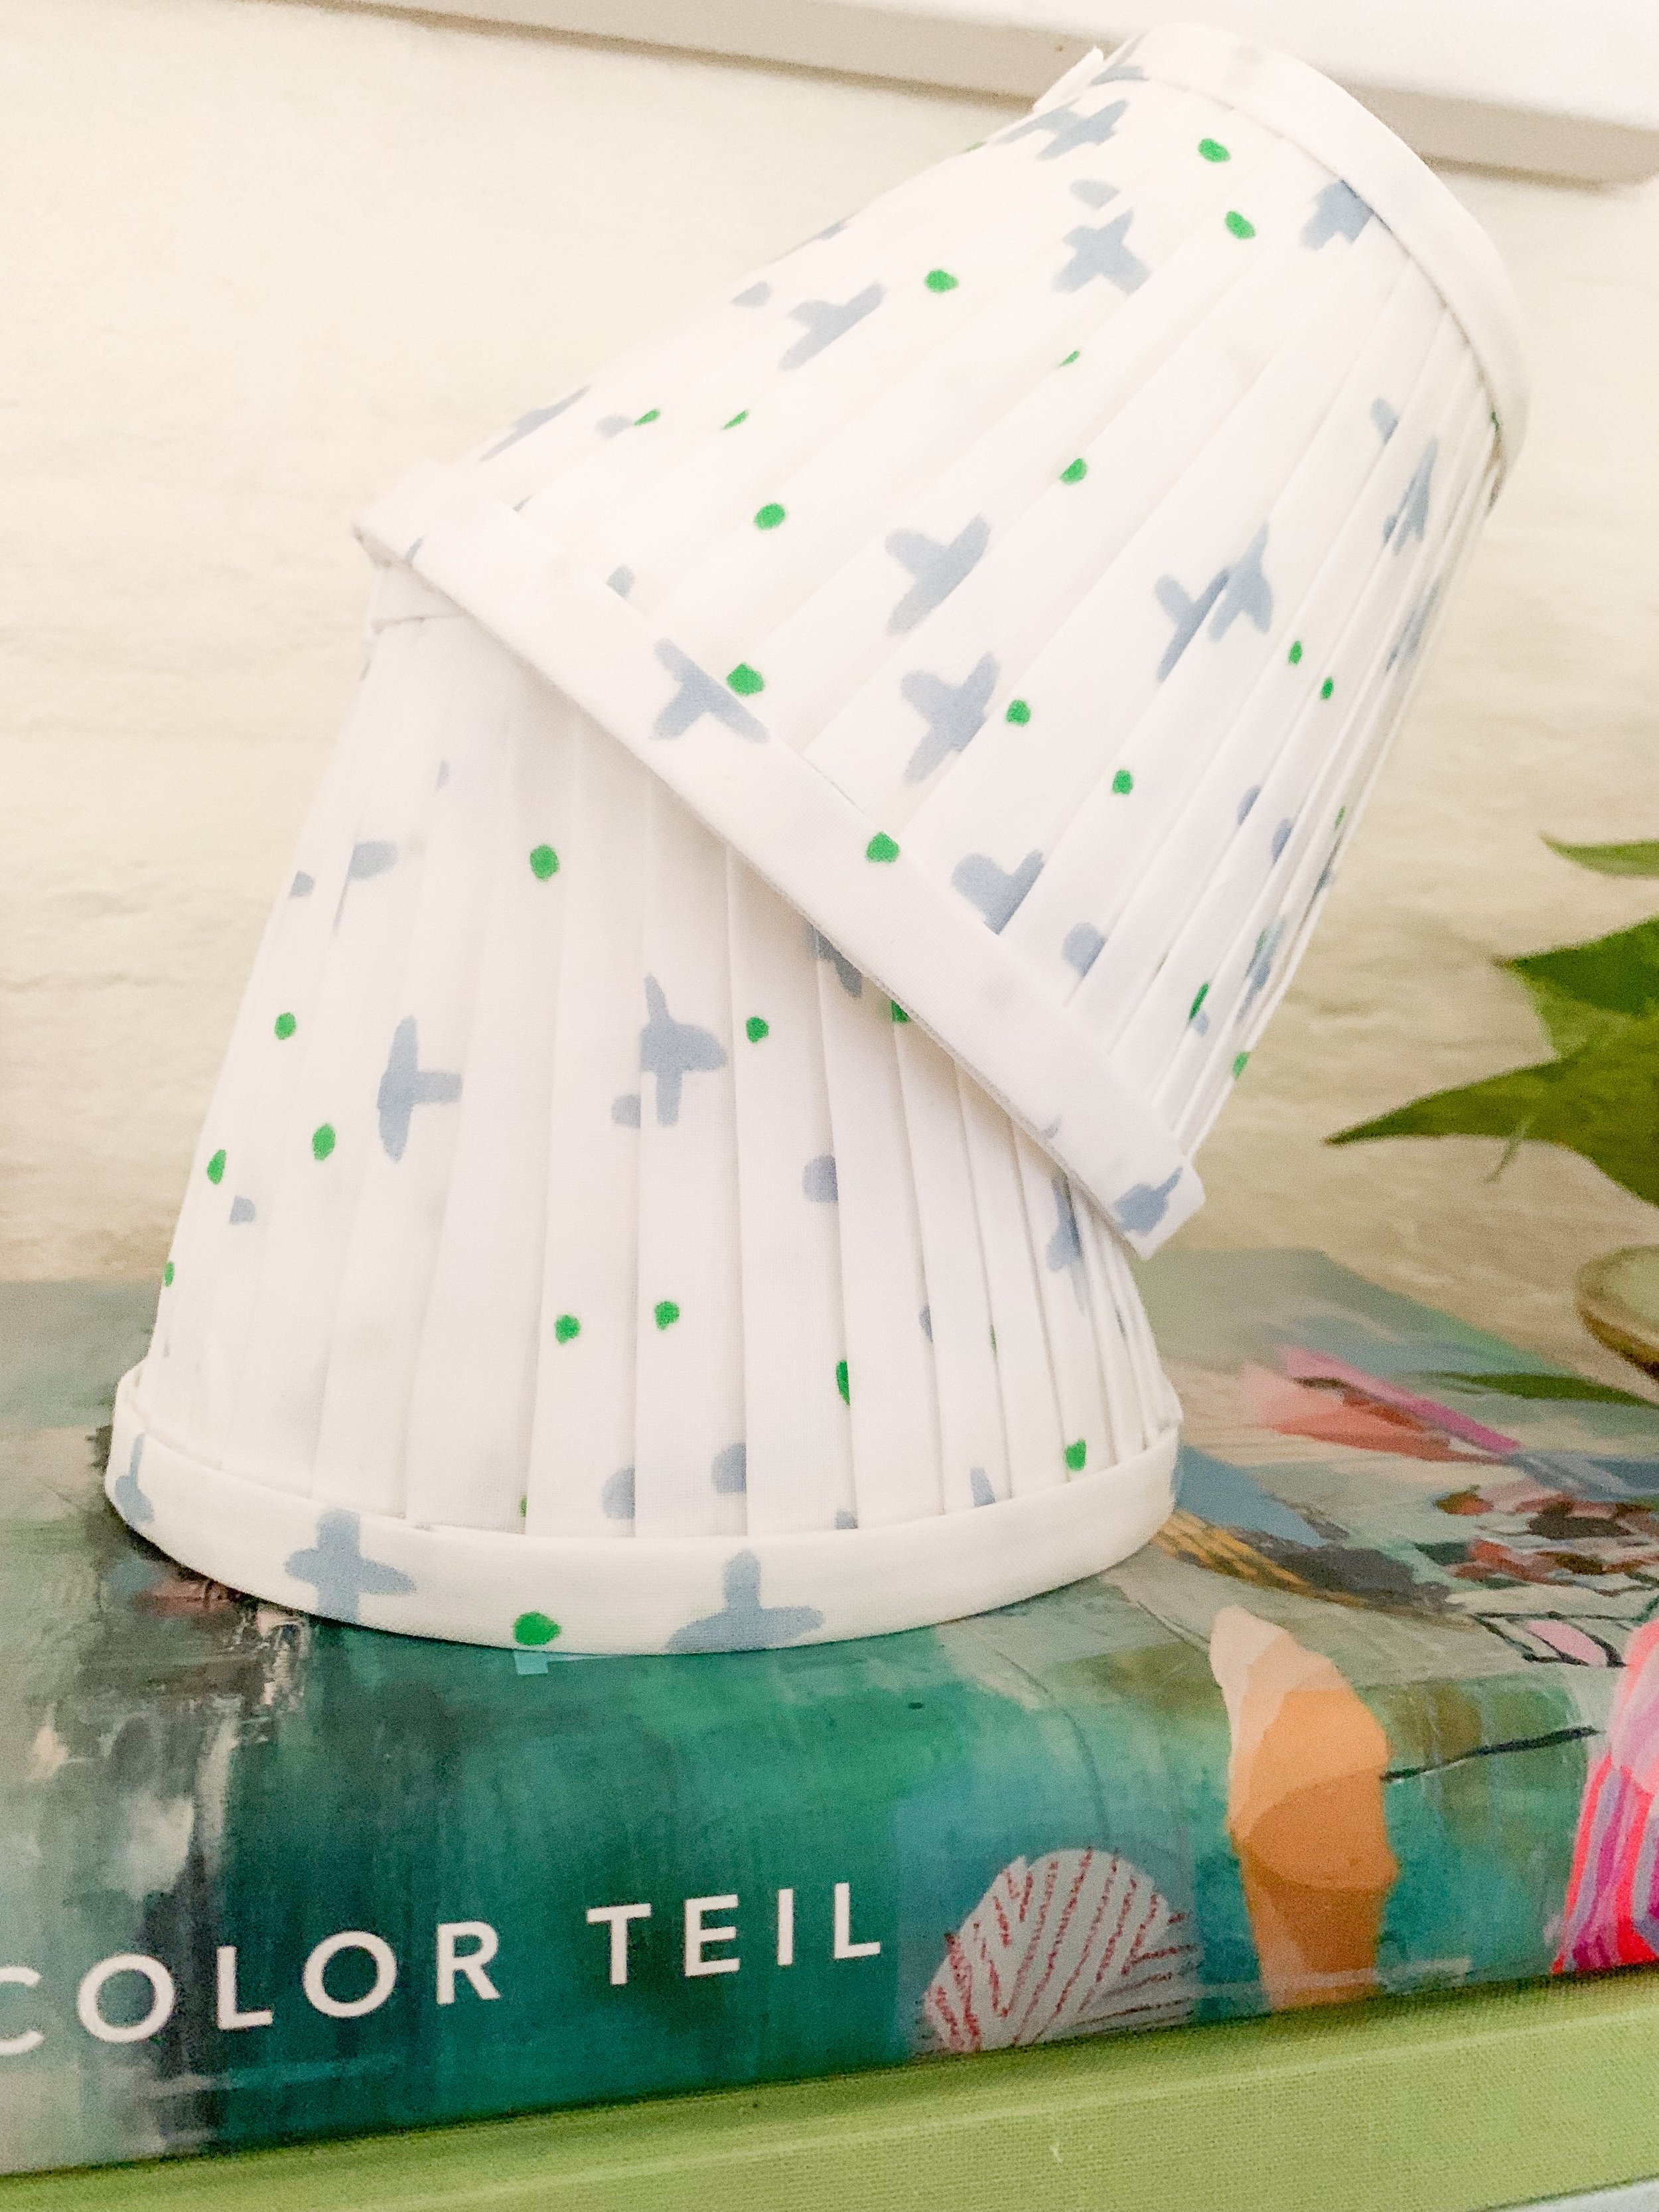
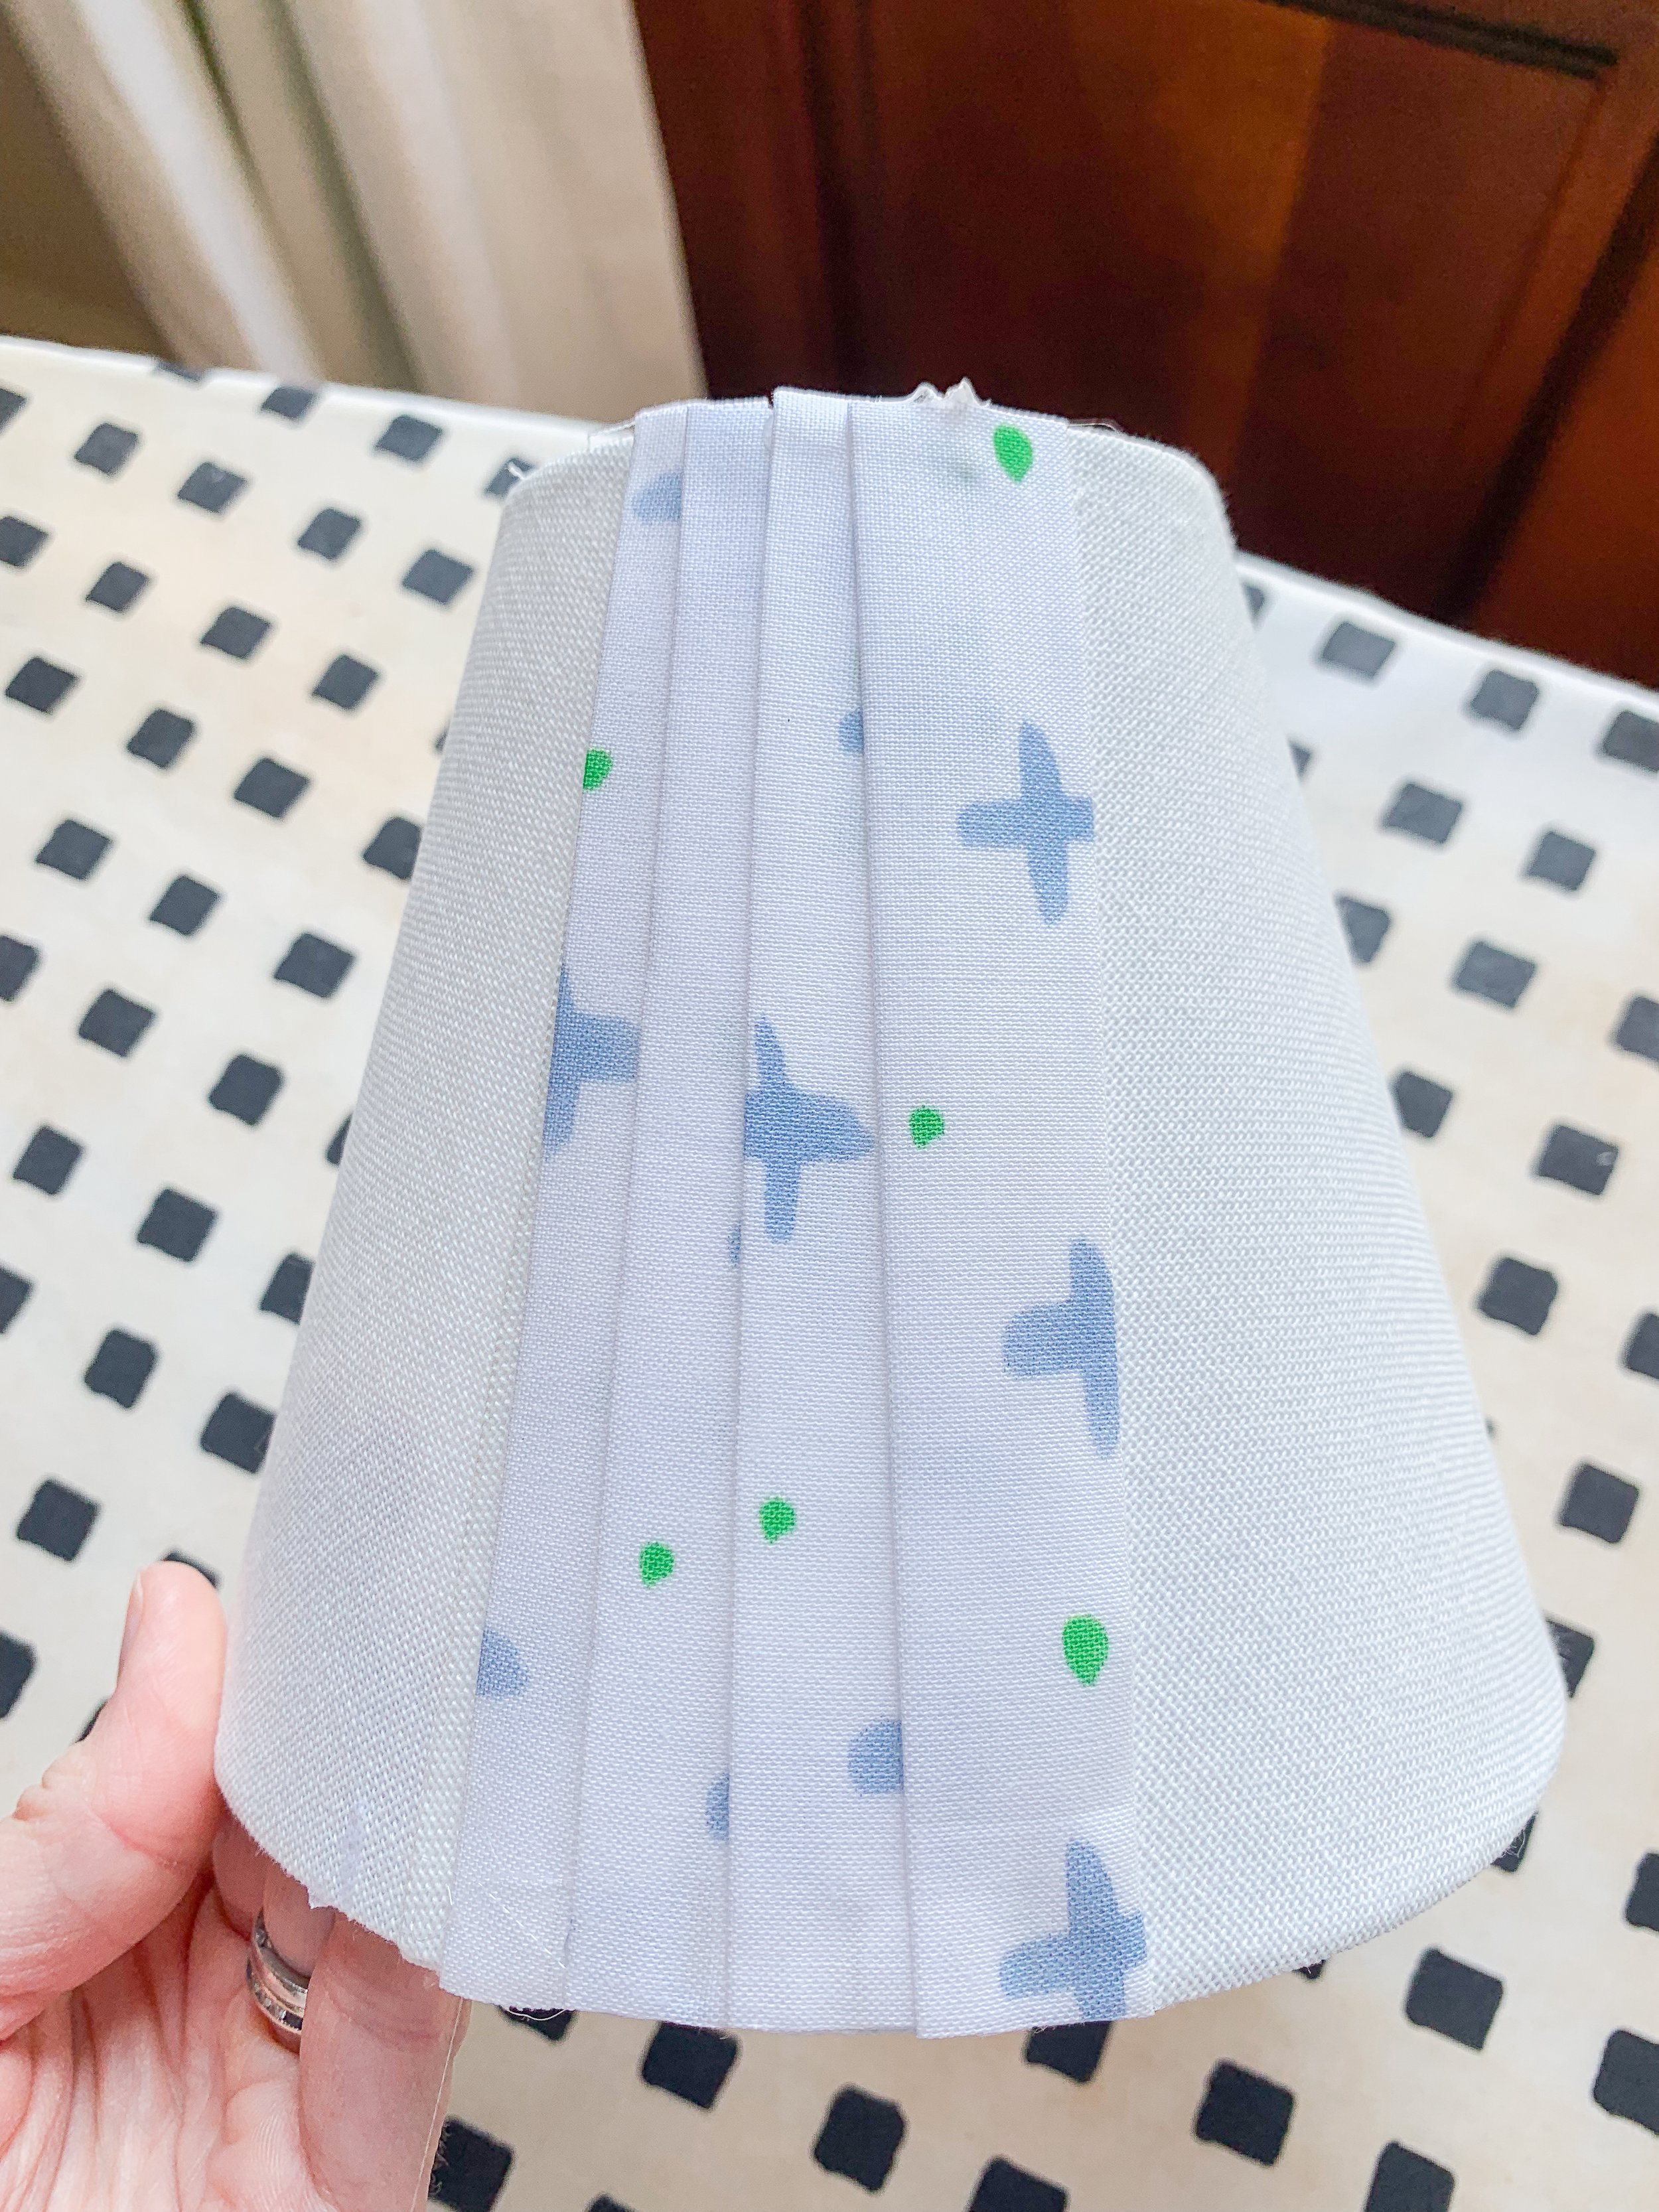
Let’s give that lampshade some personality!

DIY: No-Sew Pleated Fabric Lampshade Tutorial
Time to bring some personality into your home! This tutorial shows you how to recover your plain boring lampshade with a fabric of your choice! While recovering your shade is not difficult, it does take time. But the satisfaction of completing the project and the beautiful transformation of your lampshade is worth the time and effort! If this is your first time tackling this project, then I suggest starting with a smaller shade, such as a sconce size.
After trying several methods of recovering a shade, I found that the easiest, cleanest, most effective way (for me) to recover a shade is by creating “faux” pleats using the bias tape maker.
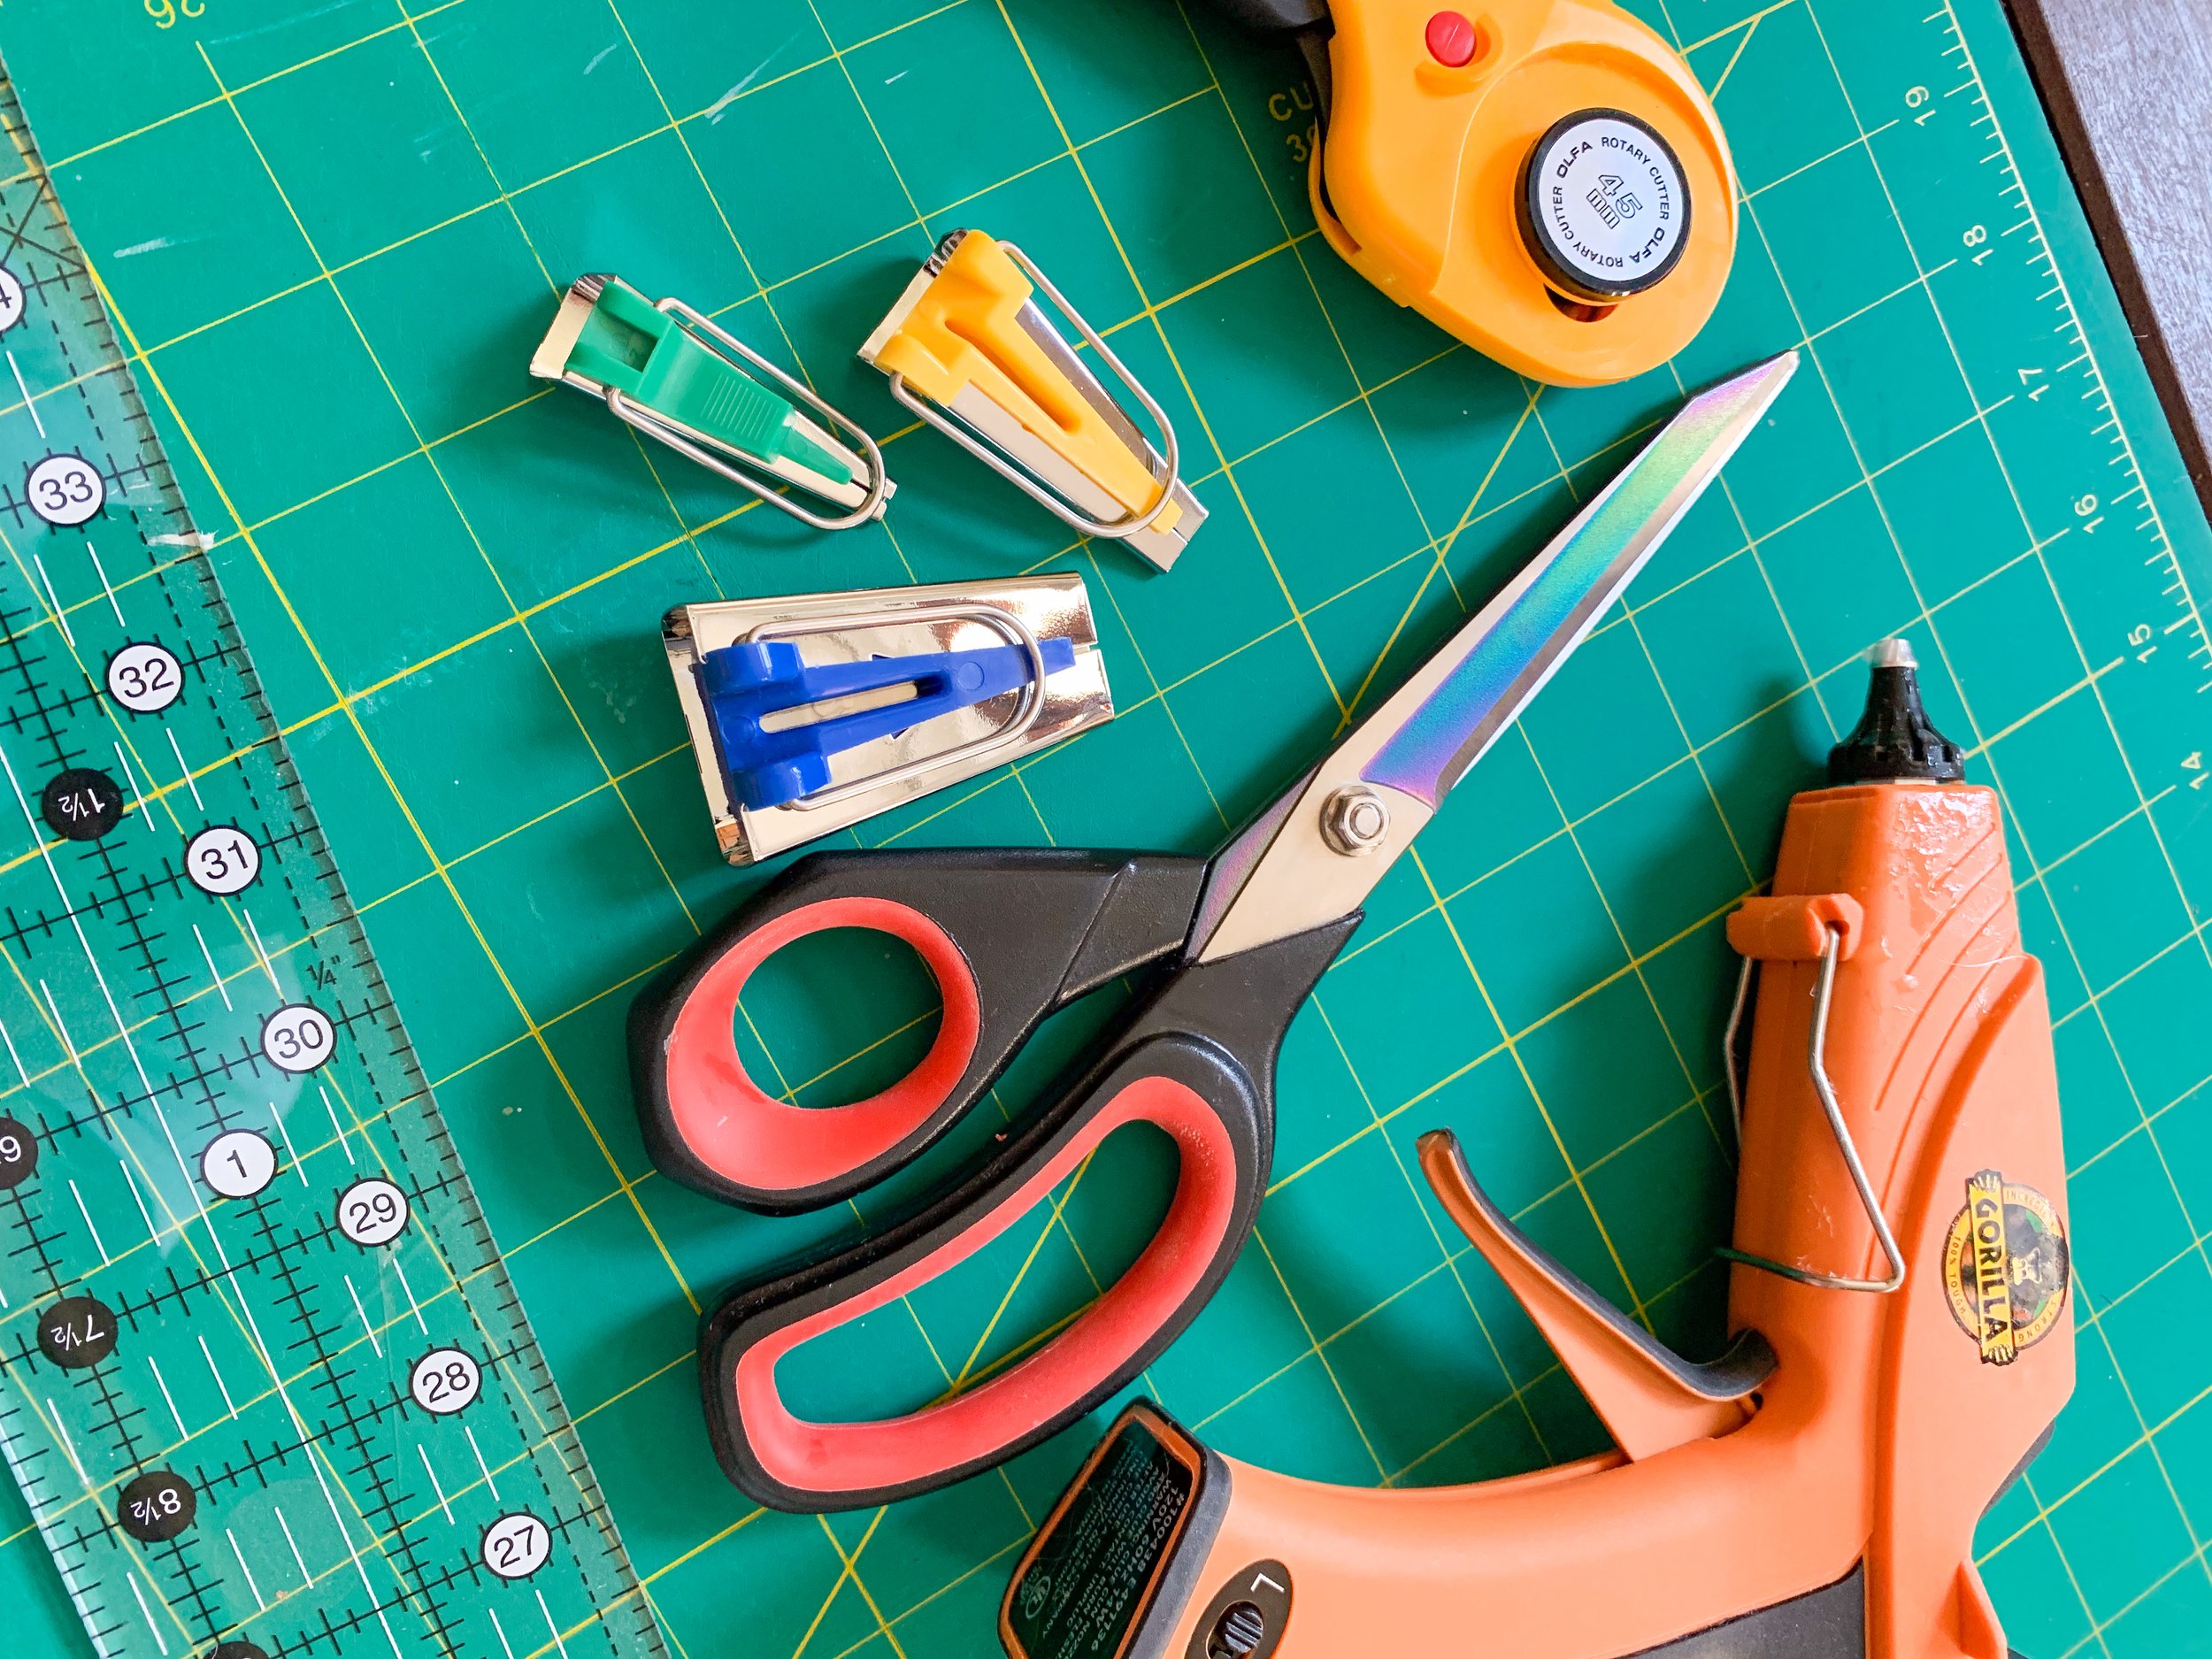
Materials and tools needed:
1.5 – 2 yards of your choice of fabric. I find that a smaller size pattern works best for this project. The amount of fabric you need will vary depending on the size of the shade. 1 yard will be sufficient for two sconce shades, and 2 yards will be enough fabric for a table lamp shade.
Hot glue gun + sticks
Lampshade – choose a plain, inexpensive shade. Remove any trim pieces that are glued on before you get started!
Fabric scissors
Fabric rotary cutter
Long ruler
Big matboard
Bias tape maker – I use the 1” and ¾” bias tape maker in the set
Iron + ironing board
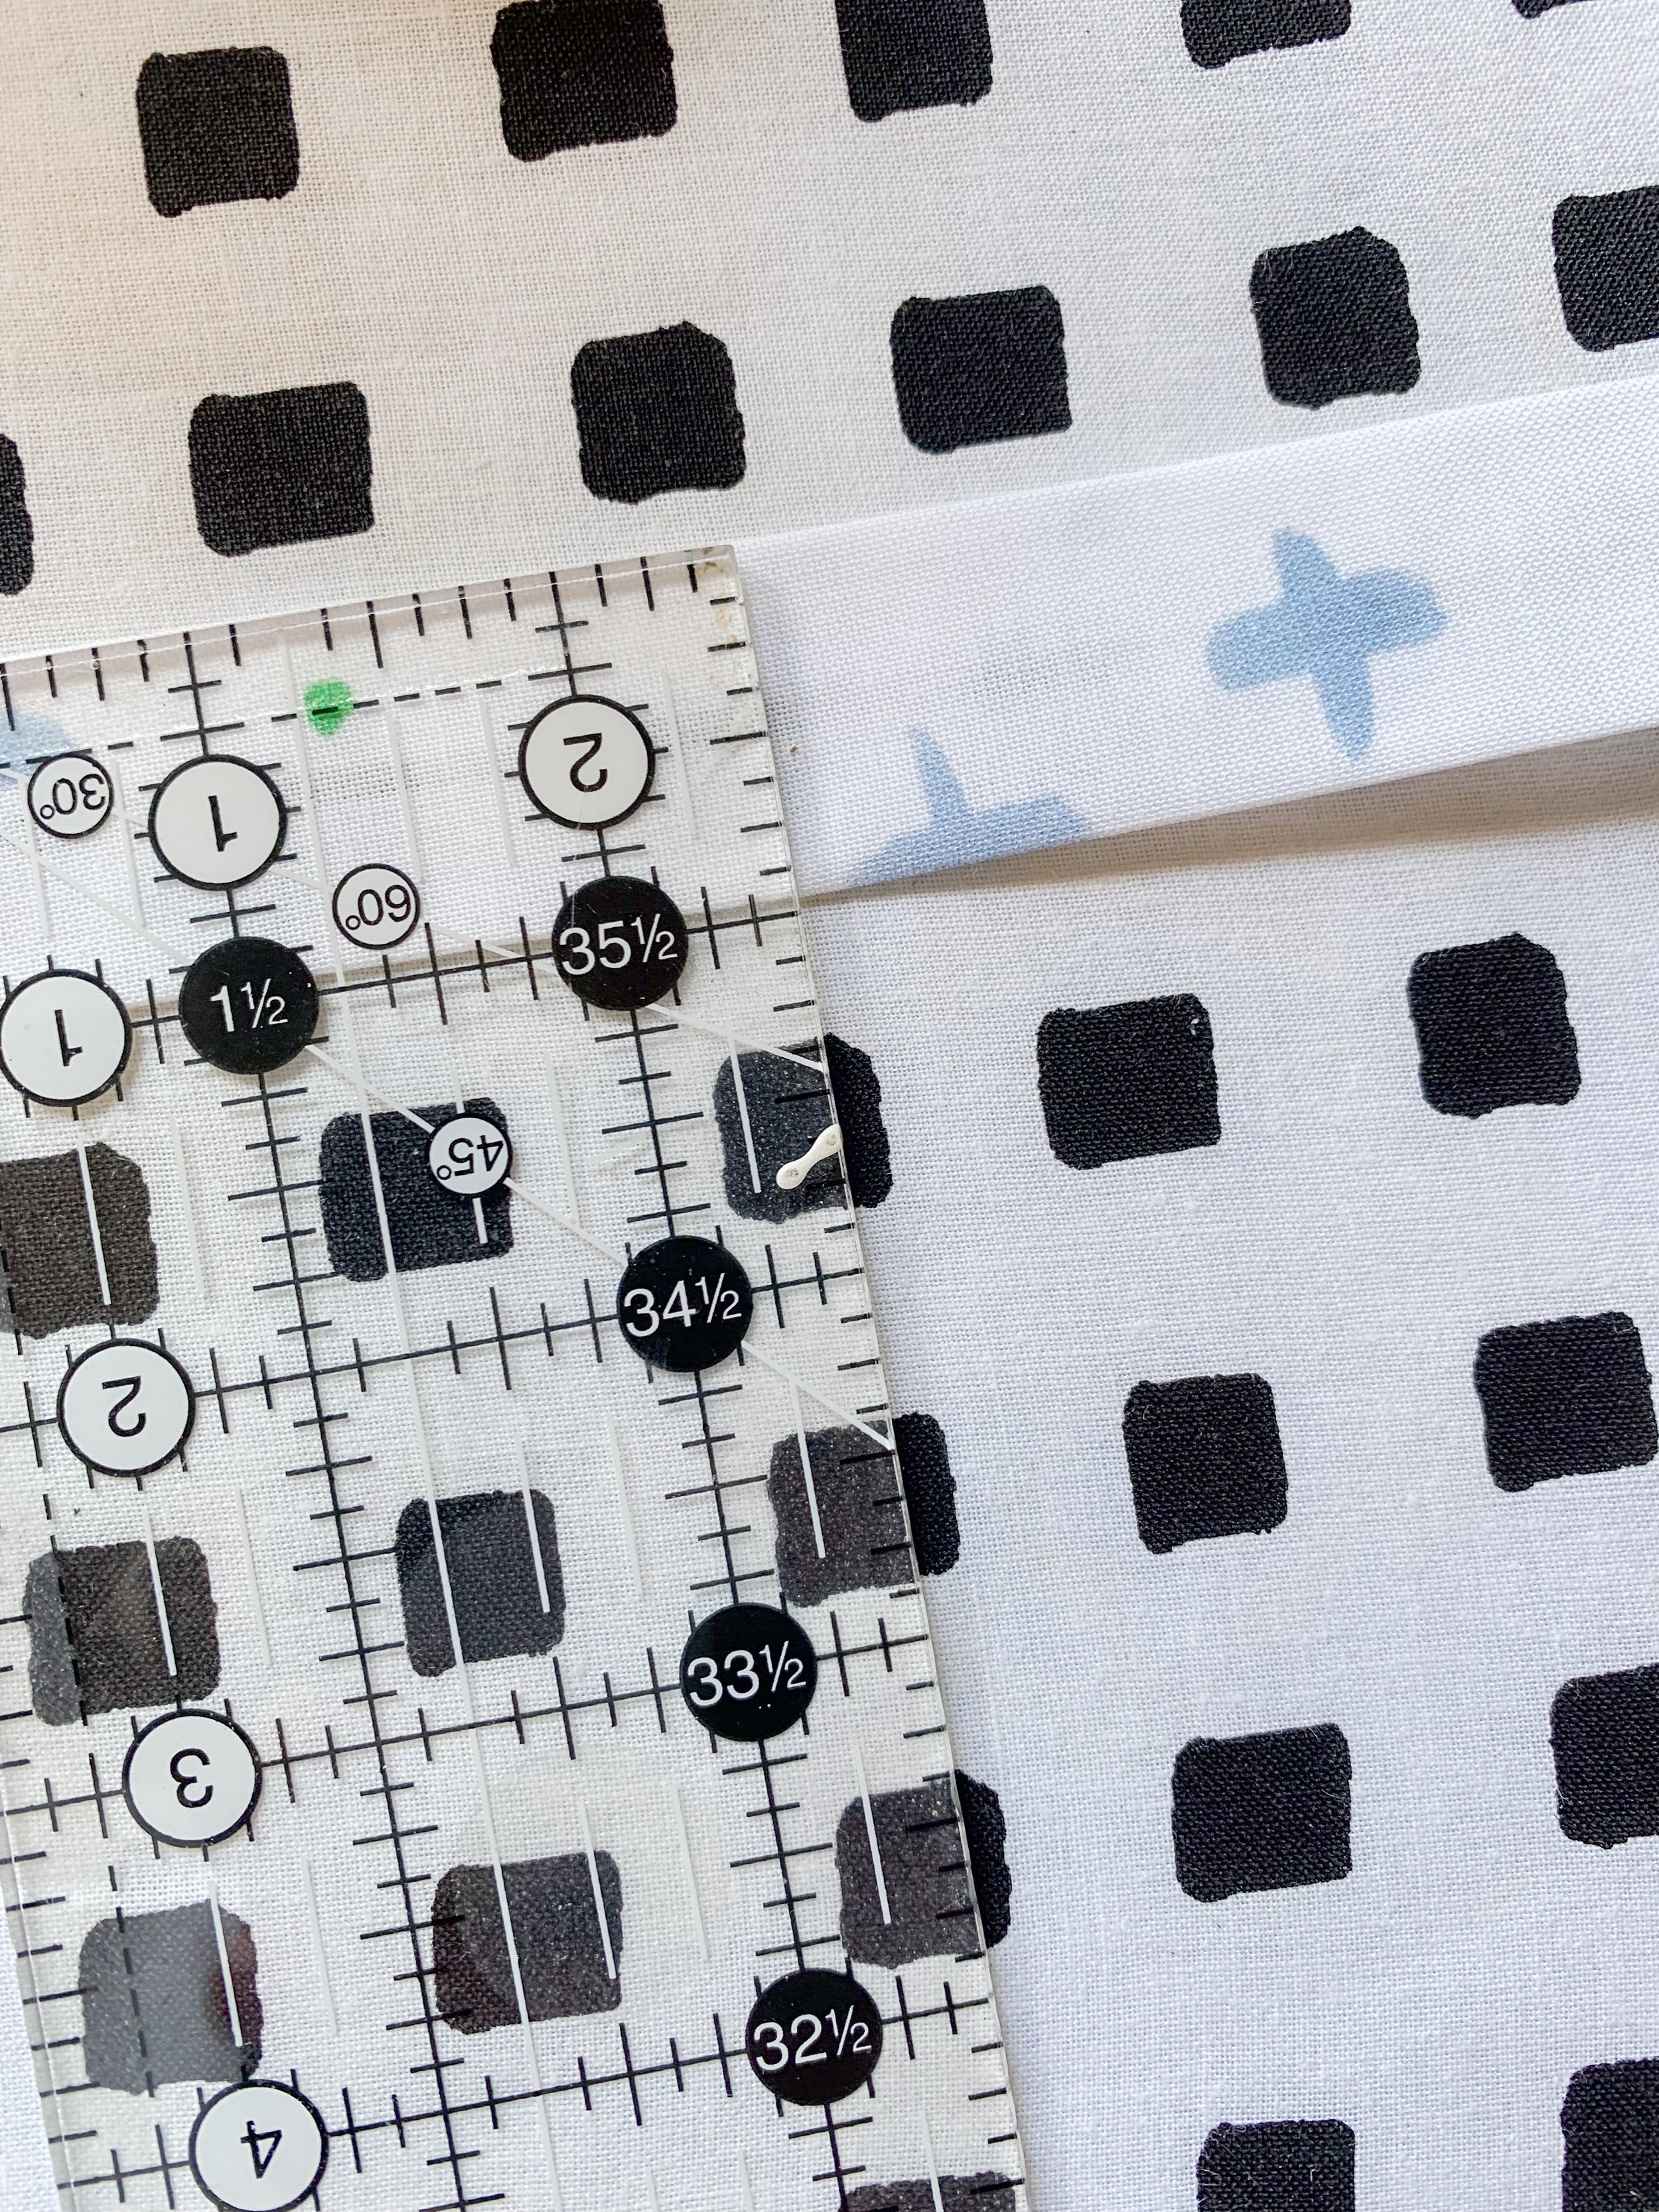
Step 1: Cutting your fabric
The size of your bias tape maker will determine the width of your pleat. Your fabric strips will need to be double the size of the bias tape maker you decide to use. For example, if you use a ¾” bias tape maker, you will cut your fabric into 1 ½” strips. Using the large matboard, ruler, and rotary cutter, cut the fabric into strips. (I suggest starting with longer fabric strips at this stage, as we will cut them down to the appropriate shade length later). I also cut my fabric on the bias, or the 45 degree angle, but it is not absolutely necessary to take this extra step!
Note! We will also need two strips for the top and bottom edge to trim the shade. I found that it helps to use the 1” bias tape maker for the trim. Therefore, cut two extra strips using the 1” maker too!
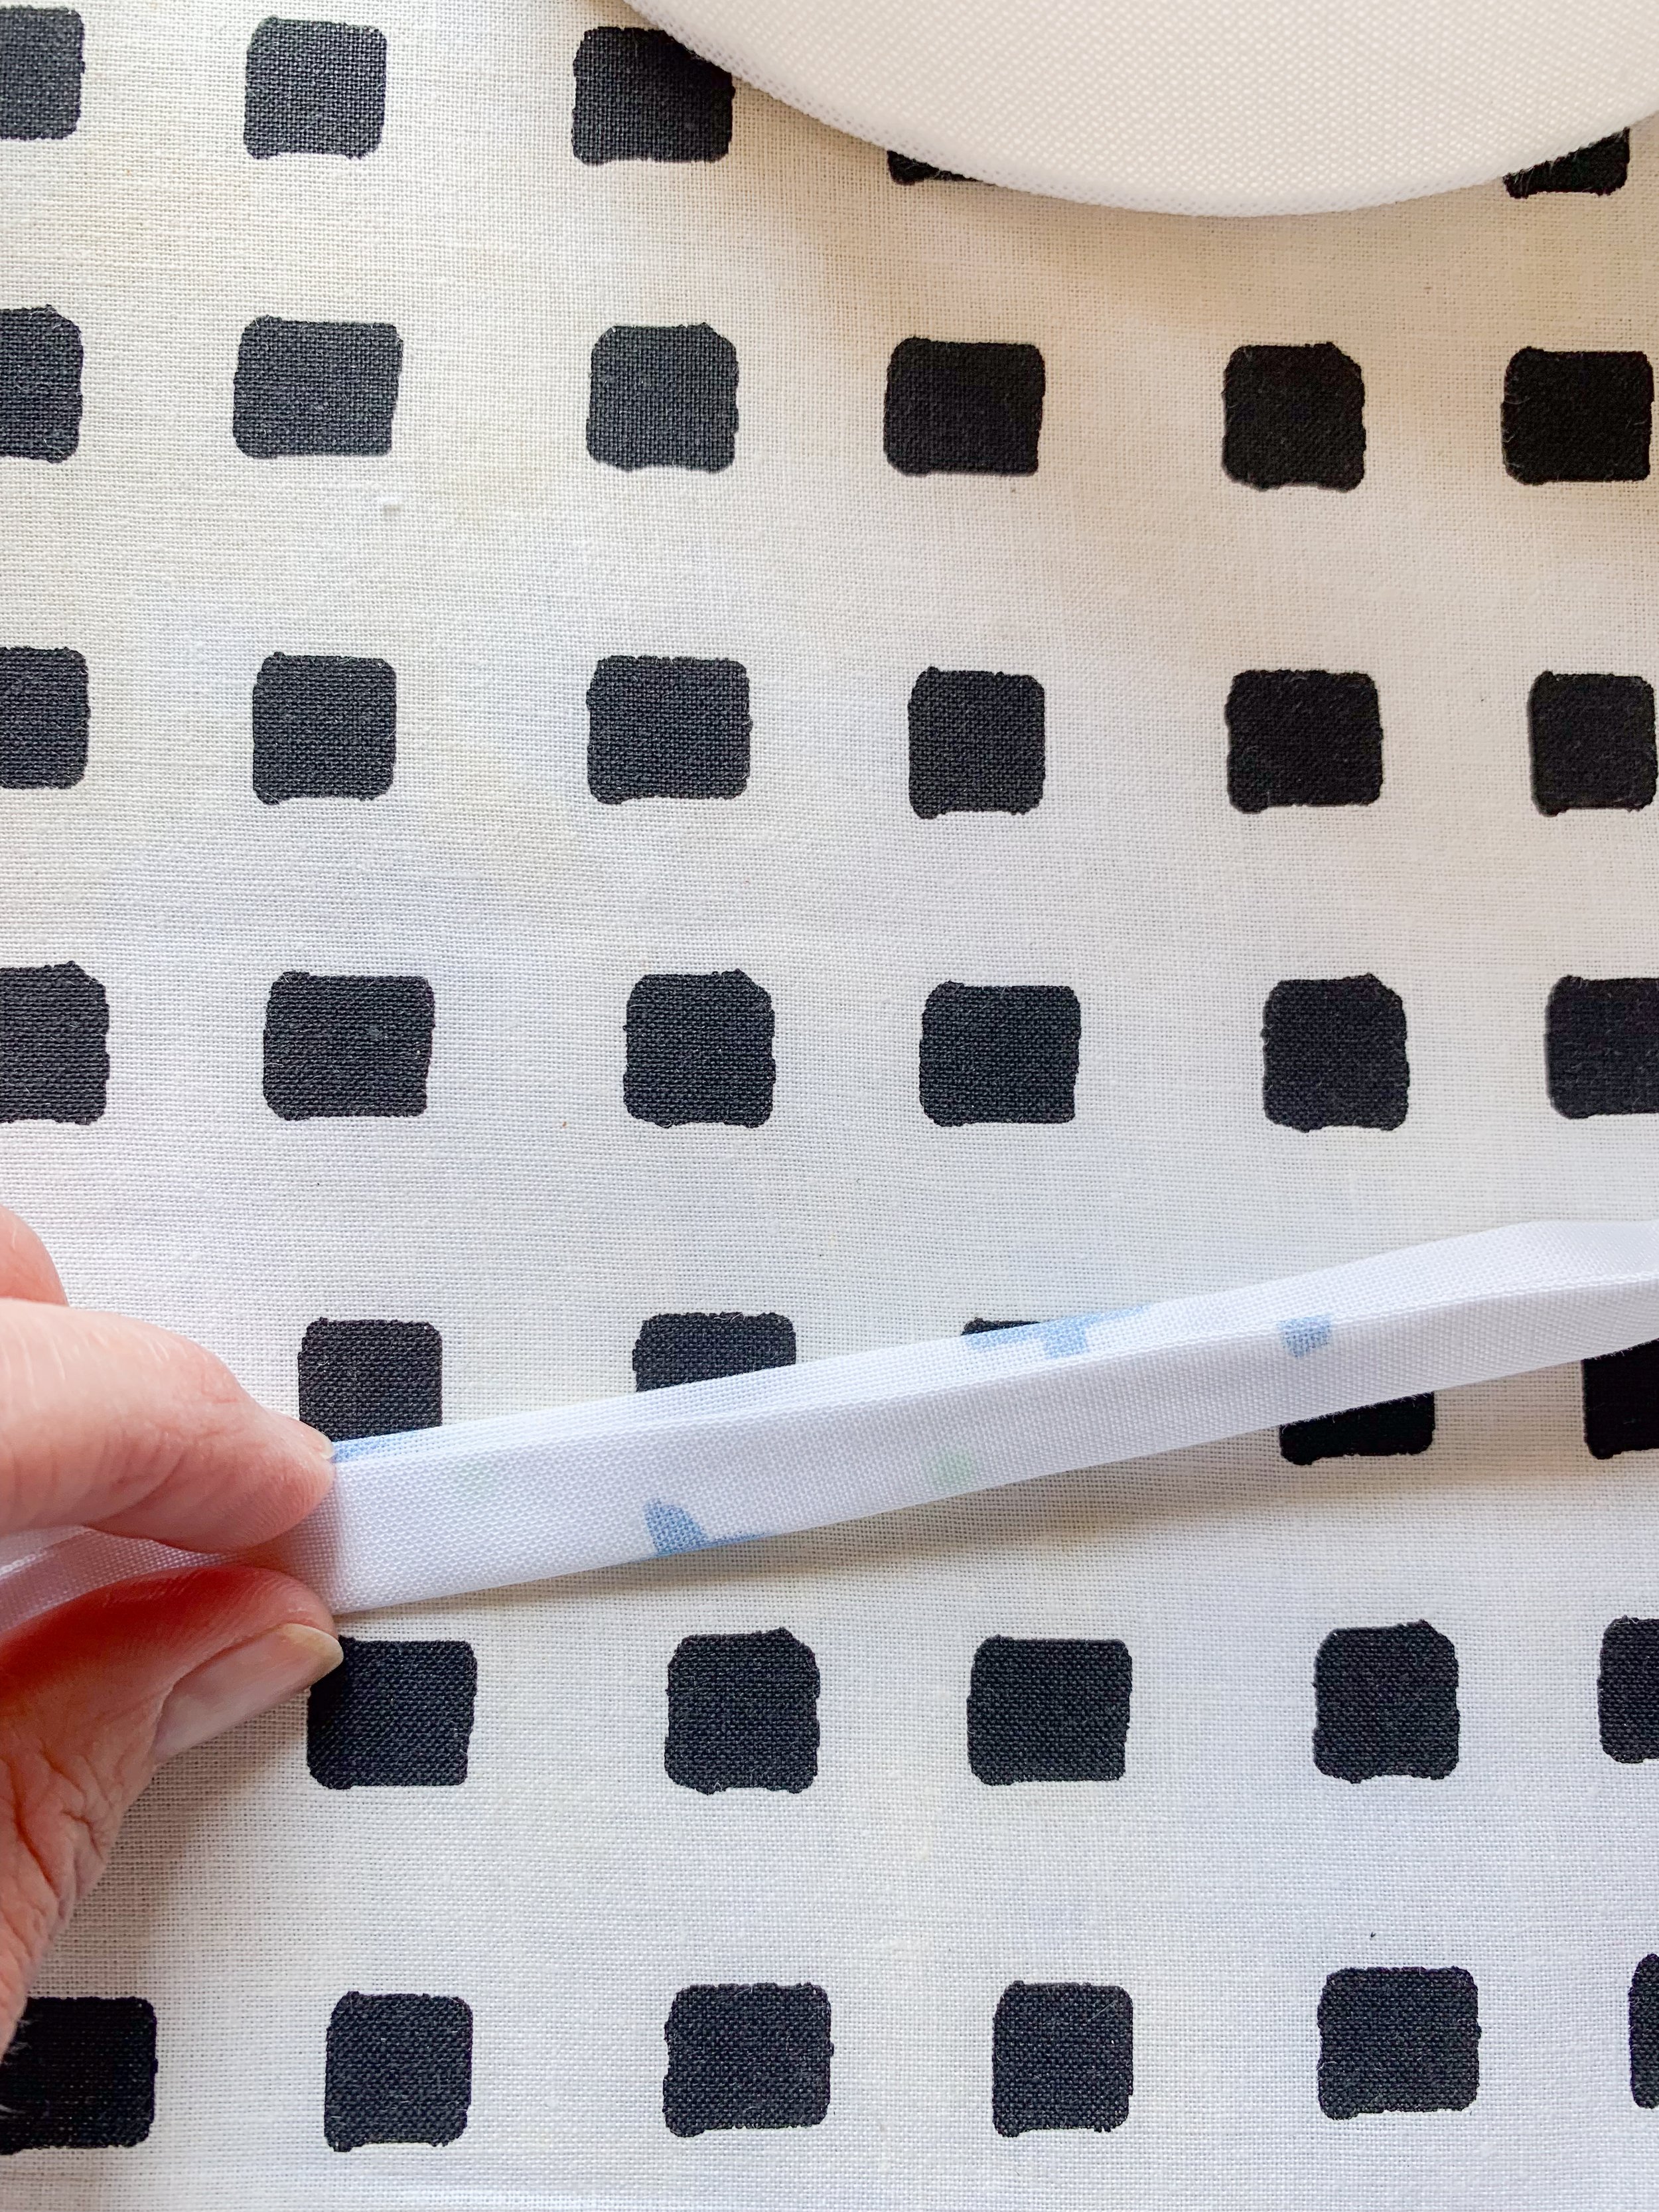
Step 2: Make your bias tape
Once your fabric has been cut into strips, you will use the bias tape maker to create bias tape, or your faux pleats. Feed your fabric through the bias tape maker and iron as you pull the fabric through. Continue until all of your strips have been ironed.
For the trim pieces, use the same method to iron your strip using the 1” bias tape maker. Then, fold the strip in half again and iron. This will create your trim piece. Set aside until step 6 (do not cut the trim pieces)!


Step 3: Cut the fabric strips to the length of your shade
Measure your shade from top to bottom, and cut your fabric strips to this length, no excess is needed. We will cover the top and bottom of the shade with another strip of fabric, so the ends will be nice and neat.
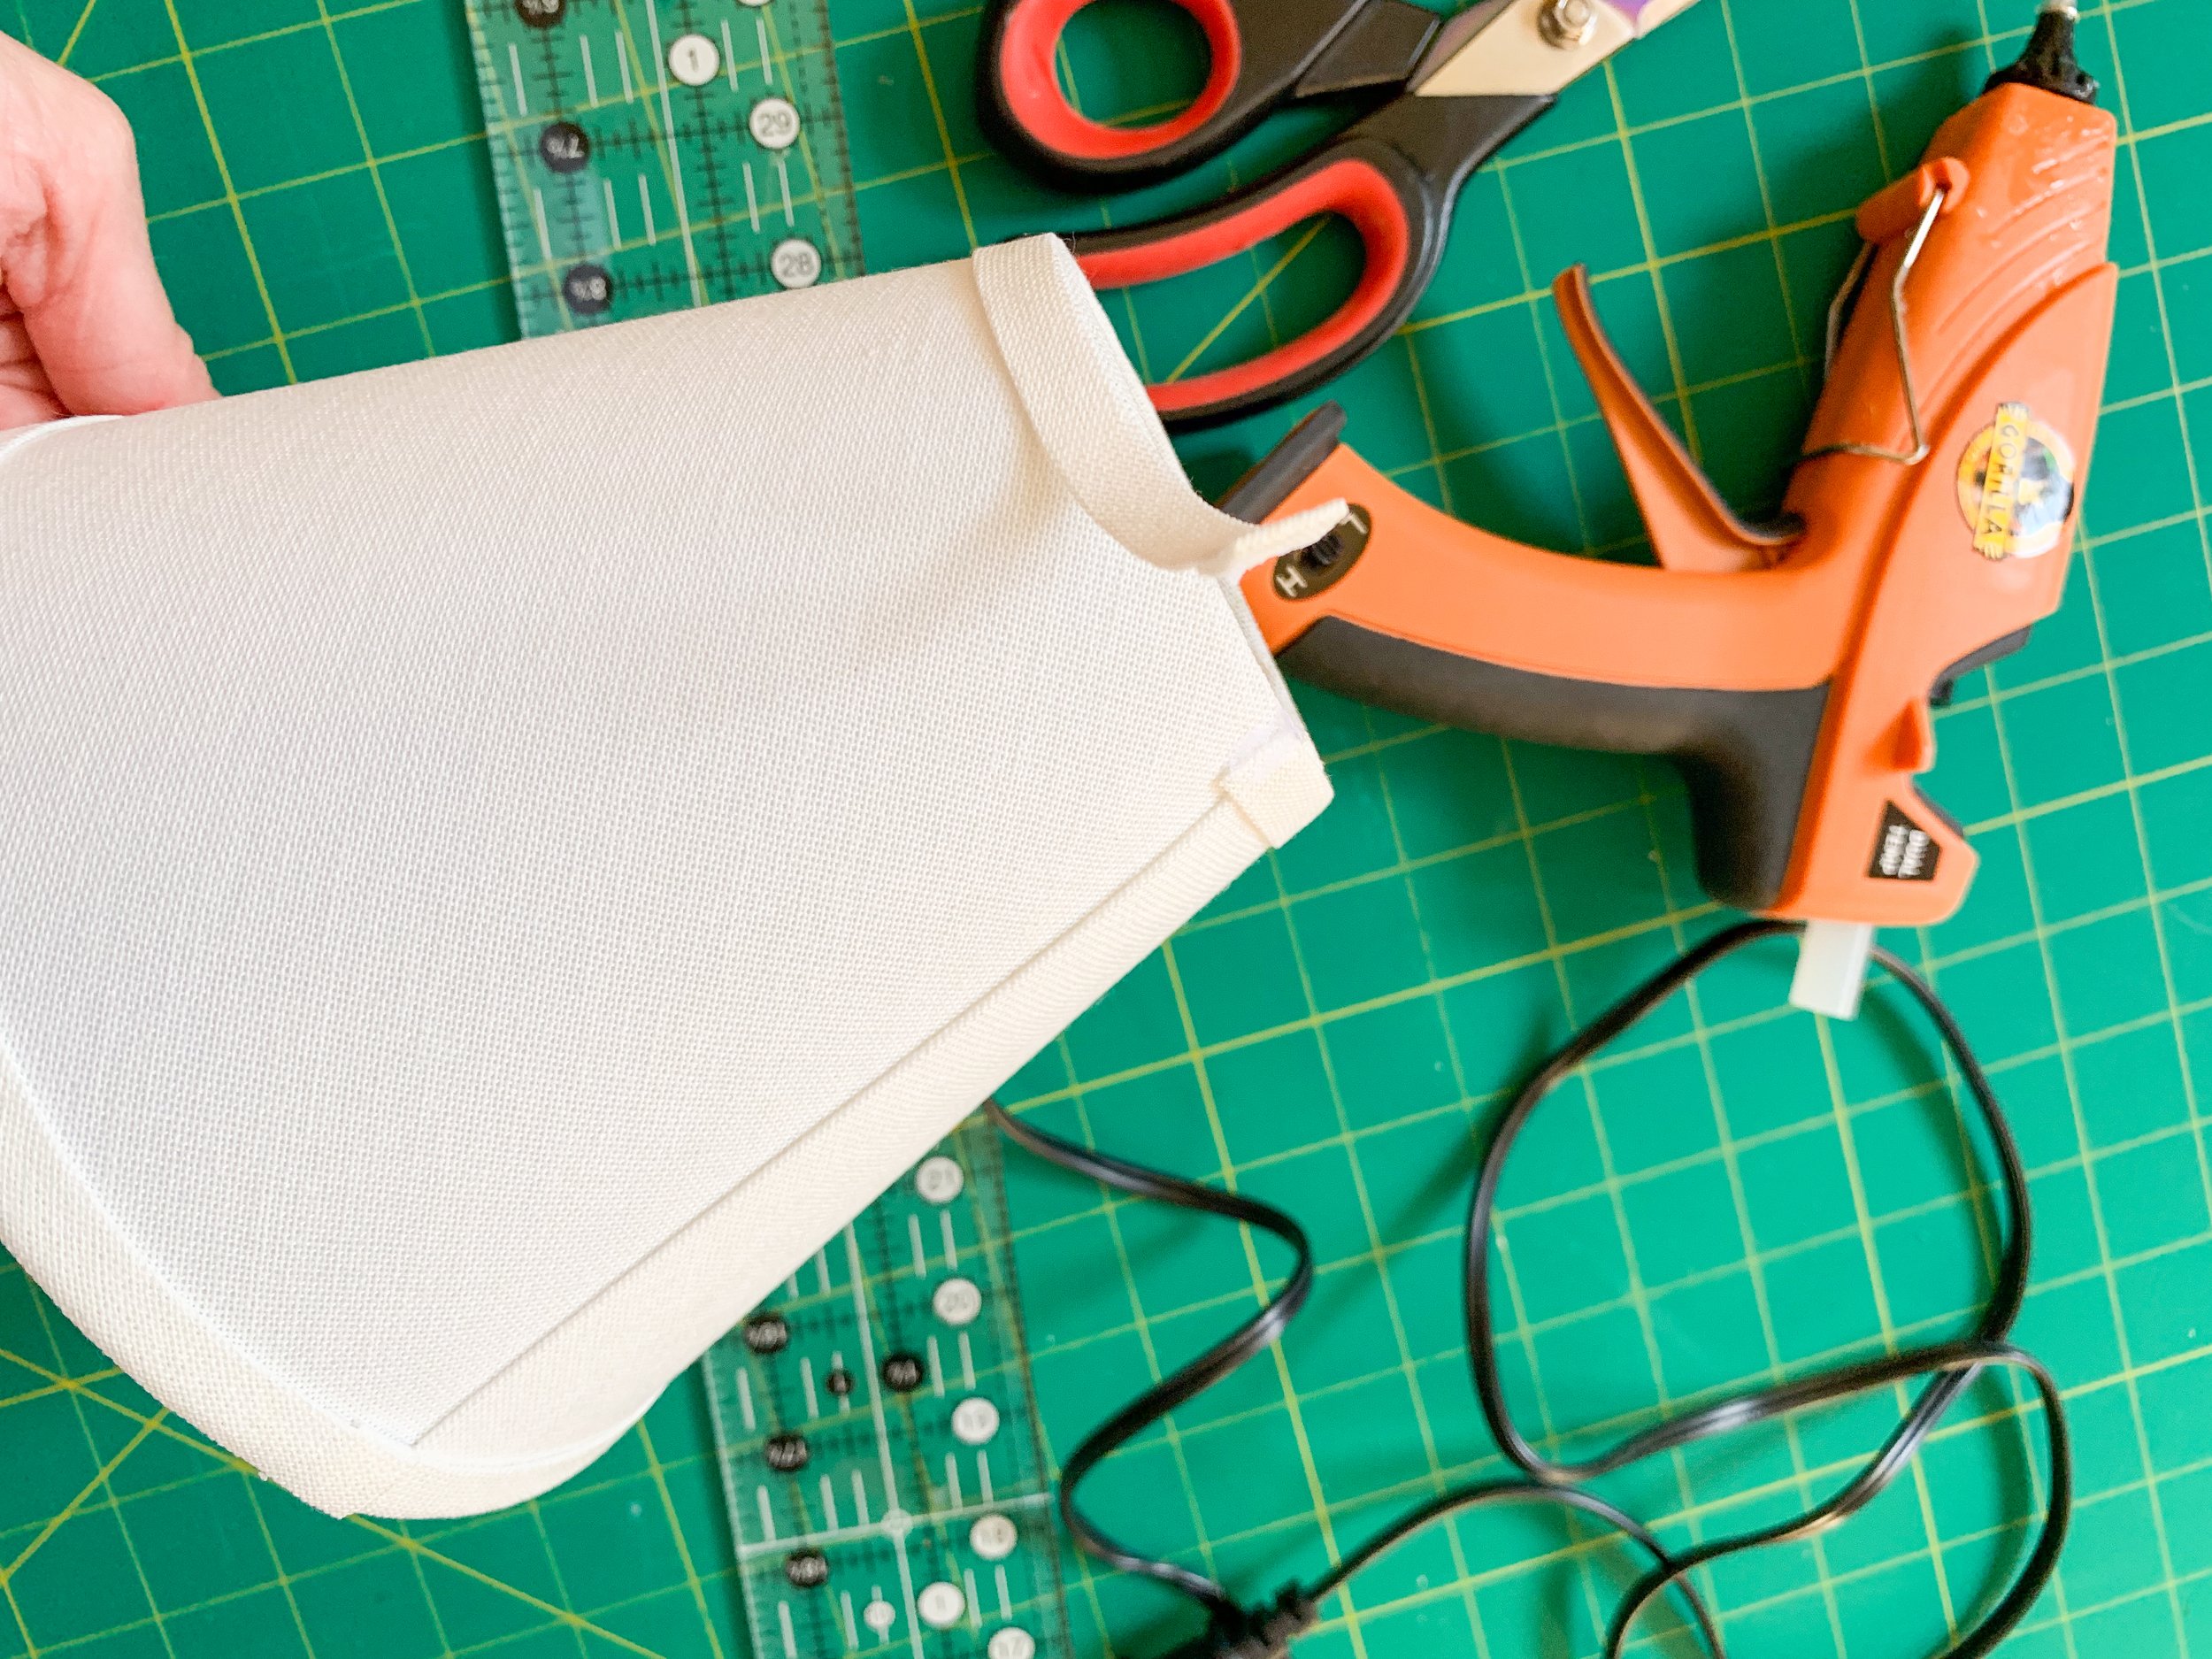
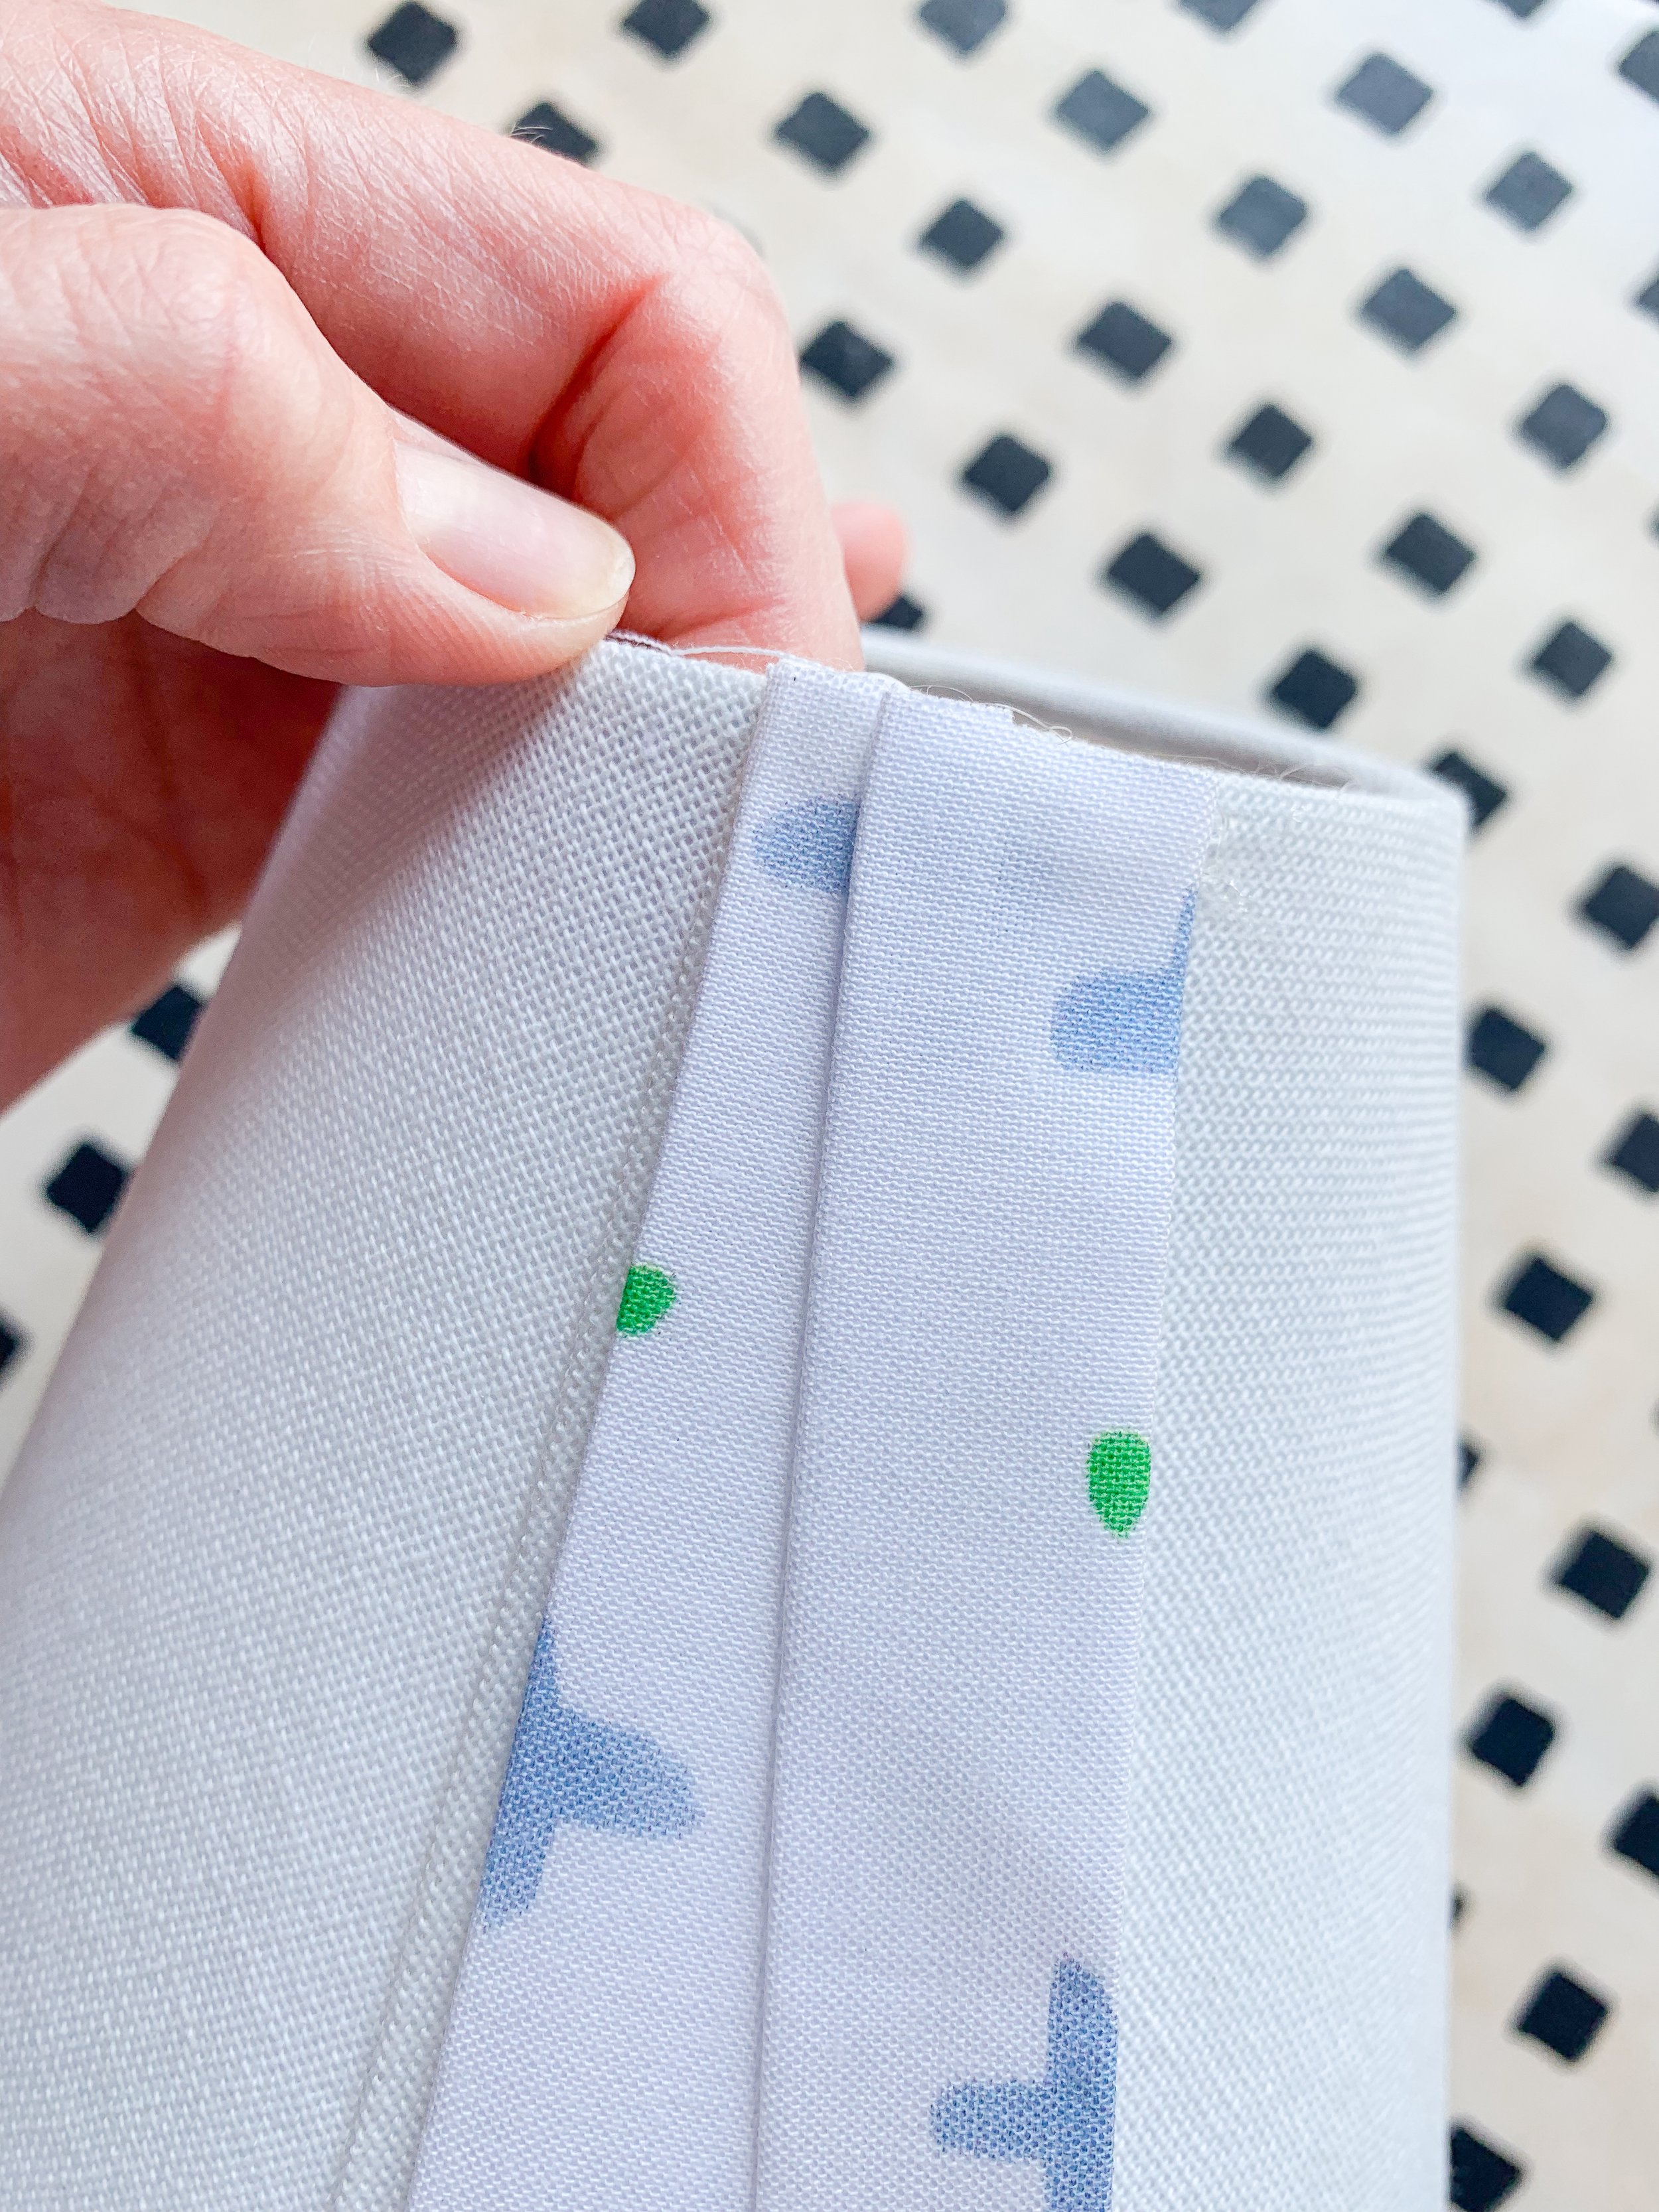
Step 4: Adhere the strips to the shade
Using your hot glue gun, adhere your fabric strips to the shade. Just a dab of glue at the top and the bottom of the shade will do! Overlap your strips to create the pleat size that suits you best, and continue using this method all the way around the shade.
Step 5: Clean up the edges of the shade
Using your fabric scissors, trim any excess fabric or strings at the top and bottom of the shade to create a nice clean edge. We do not want any fabric showing over the edges. A clean edge is needed before the trim pieces are added!


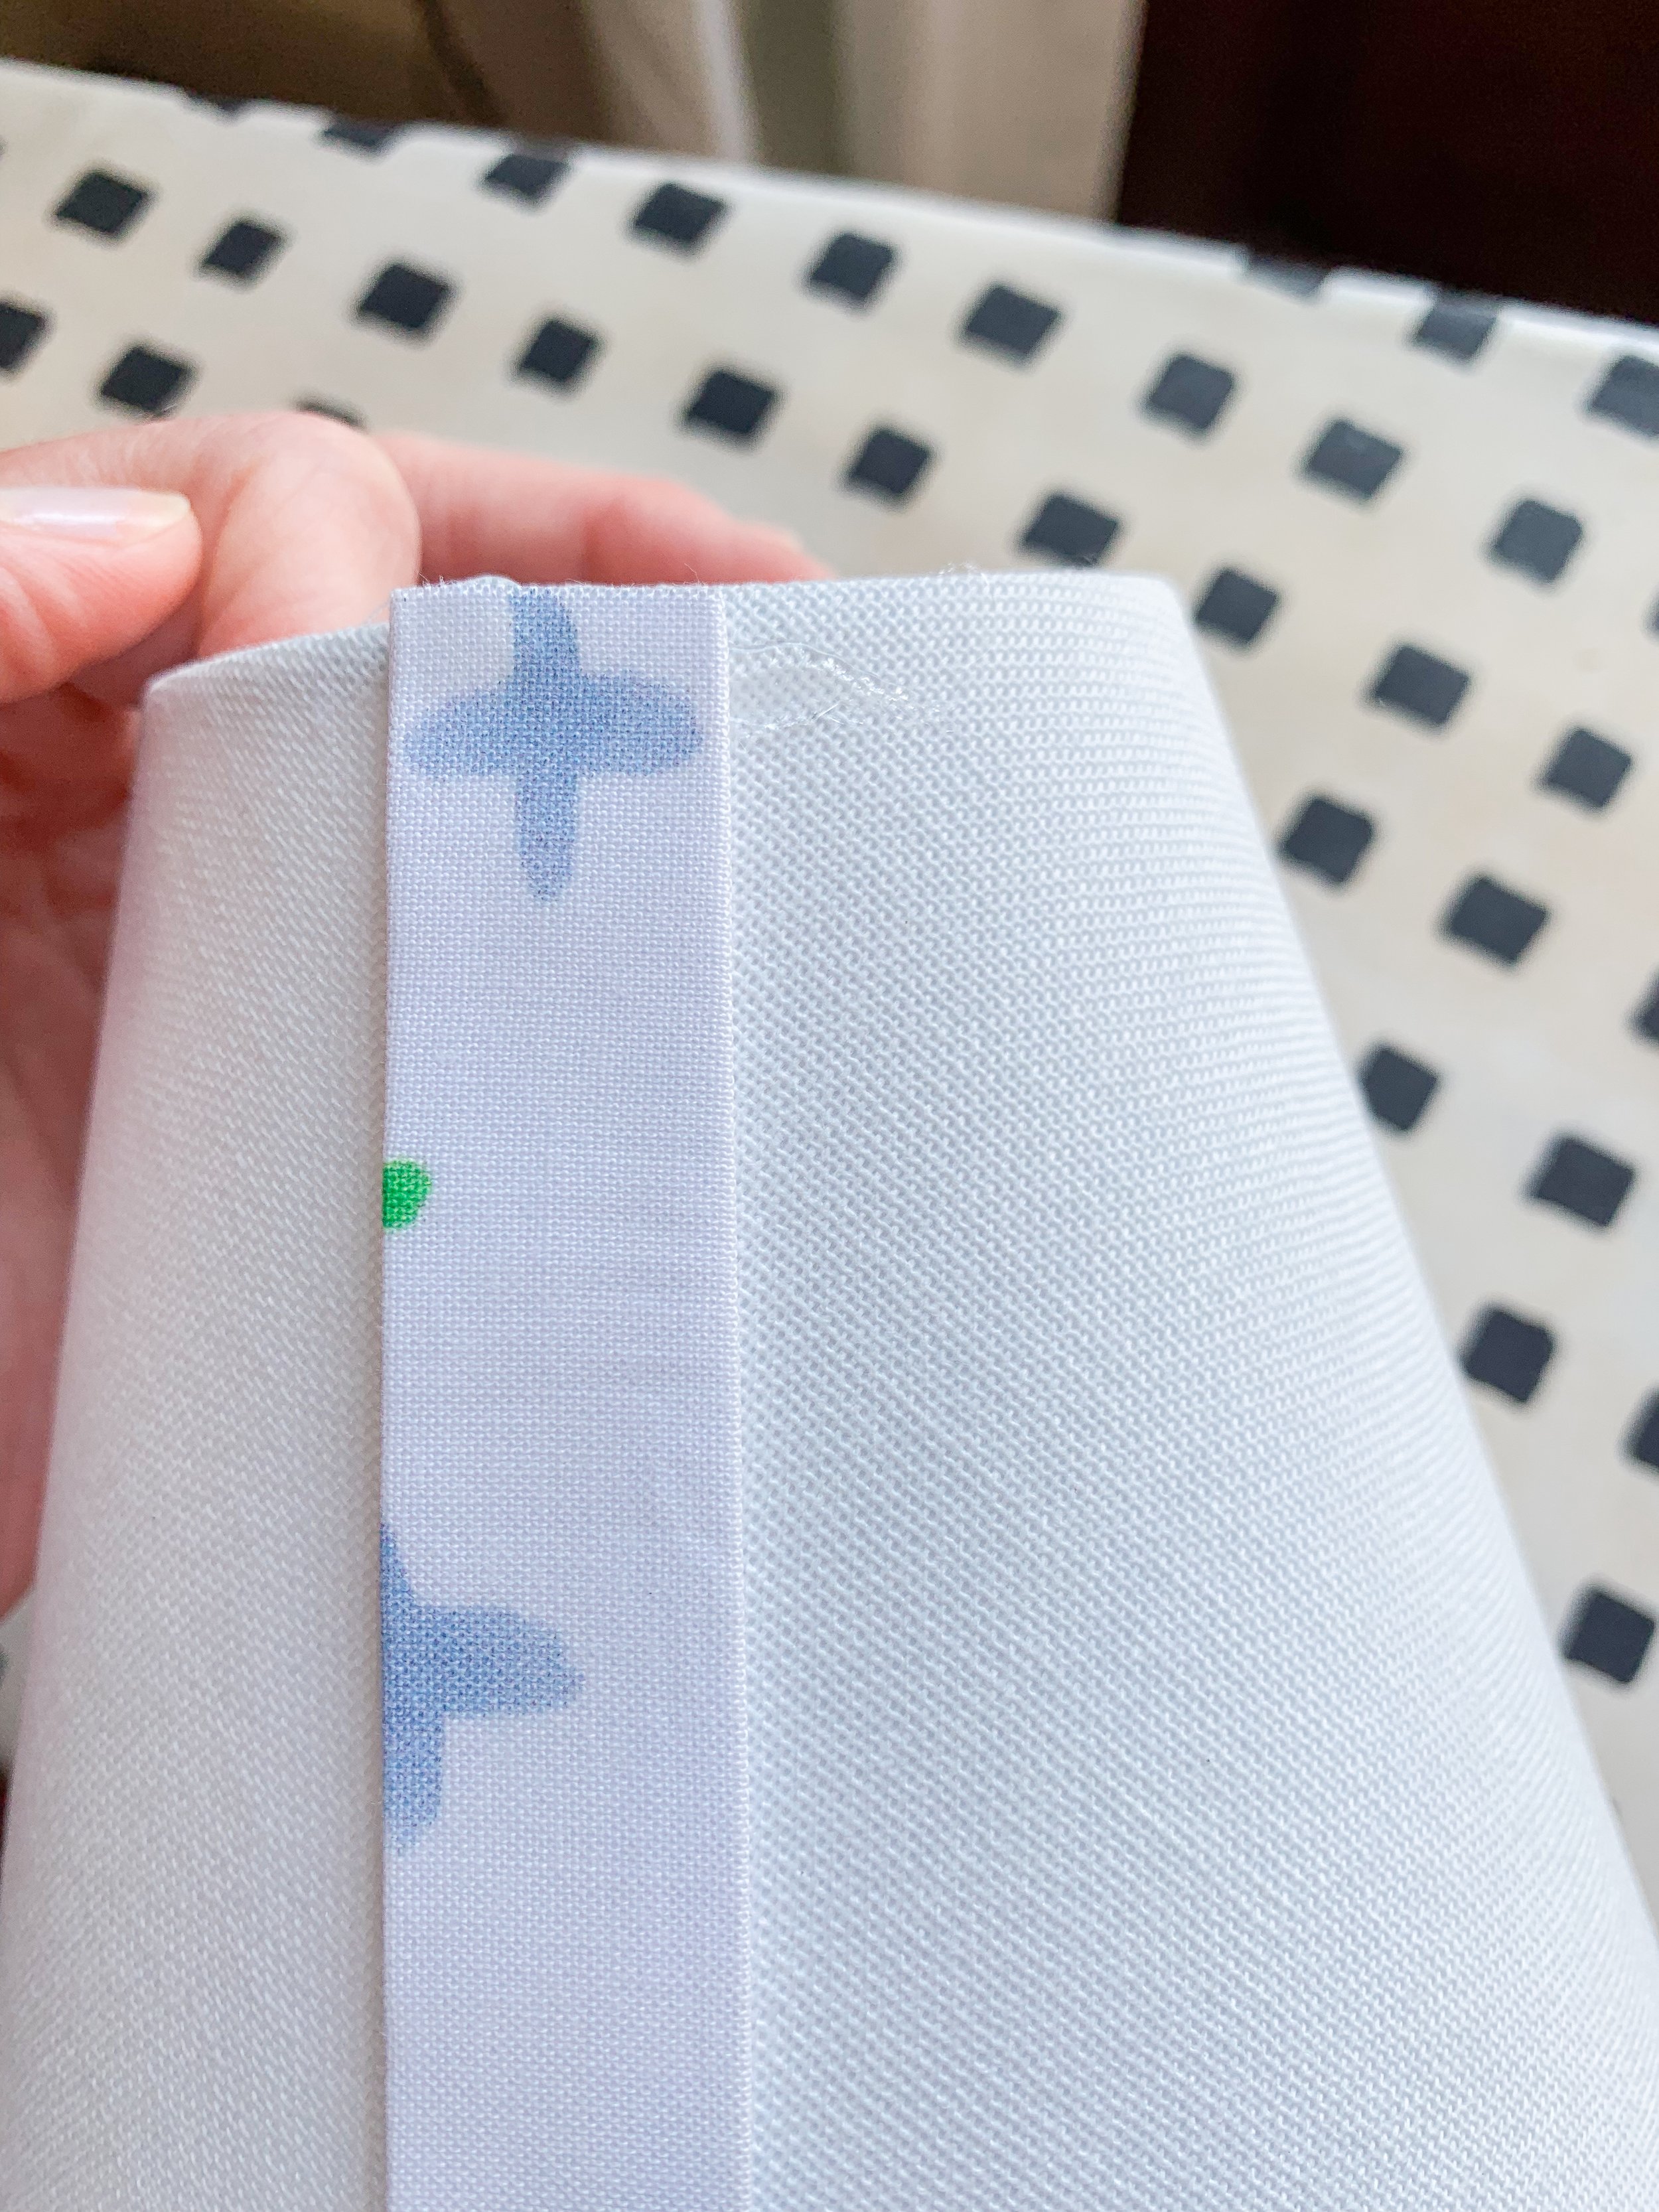
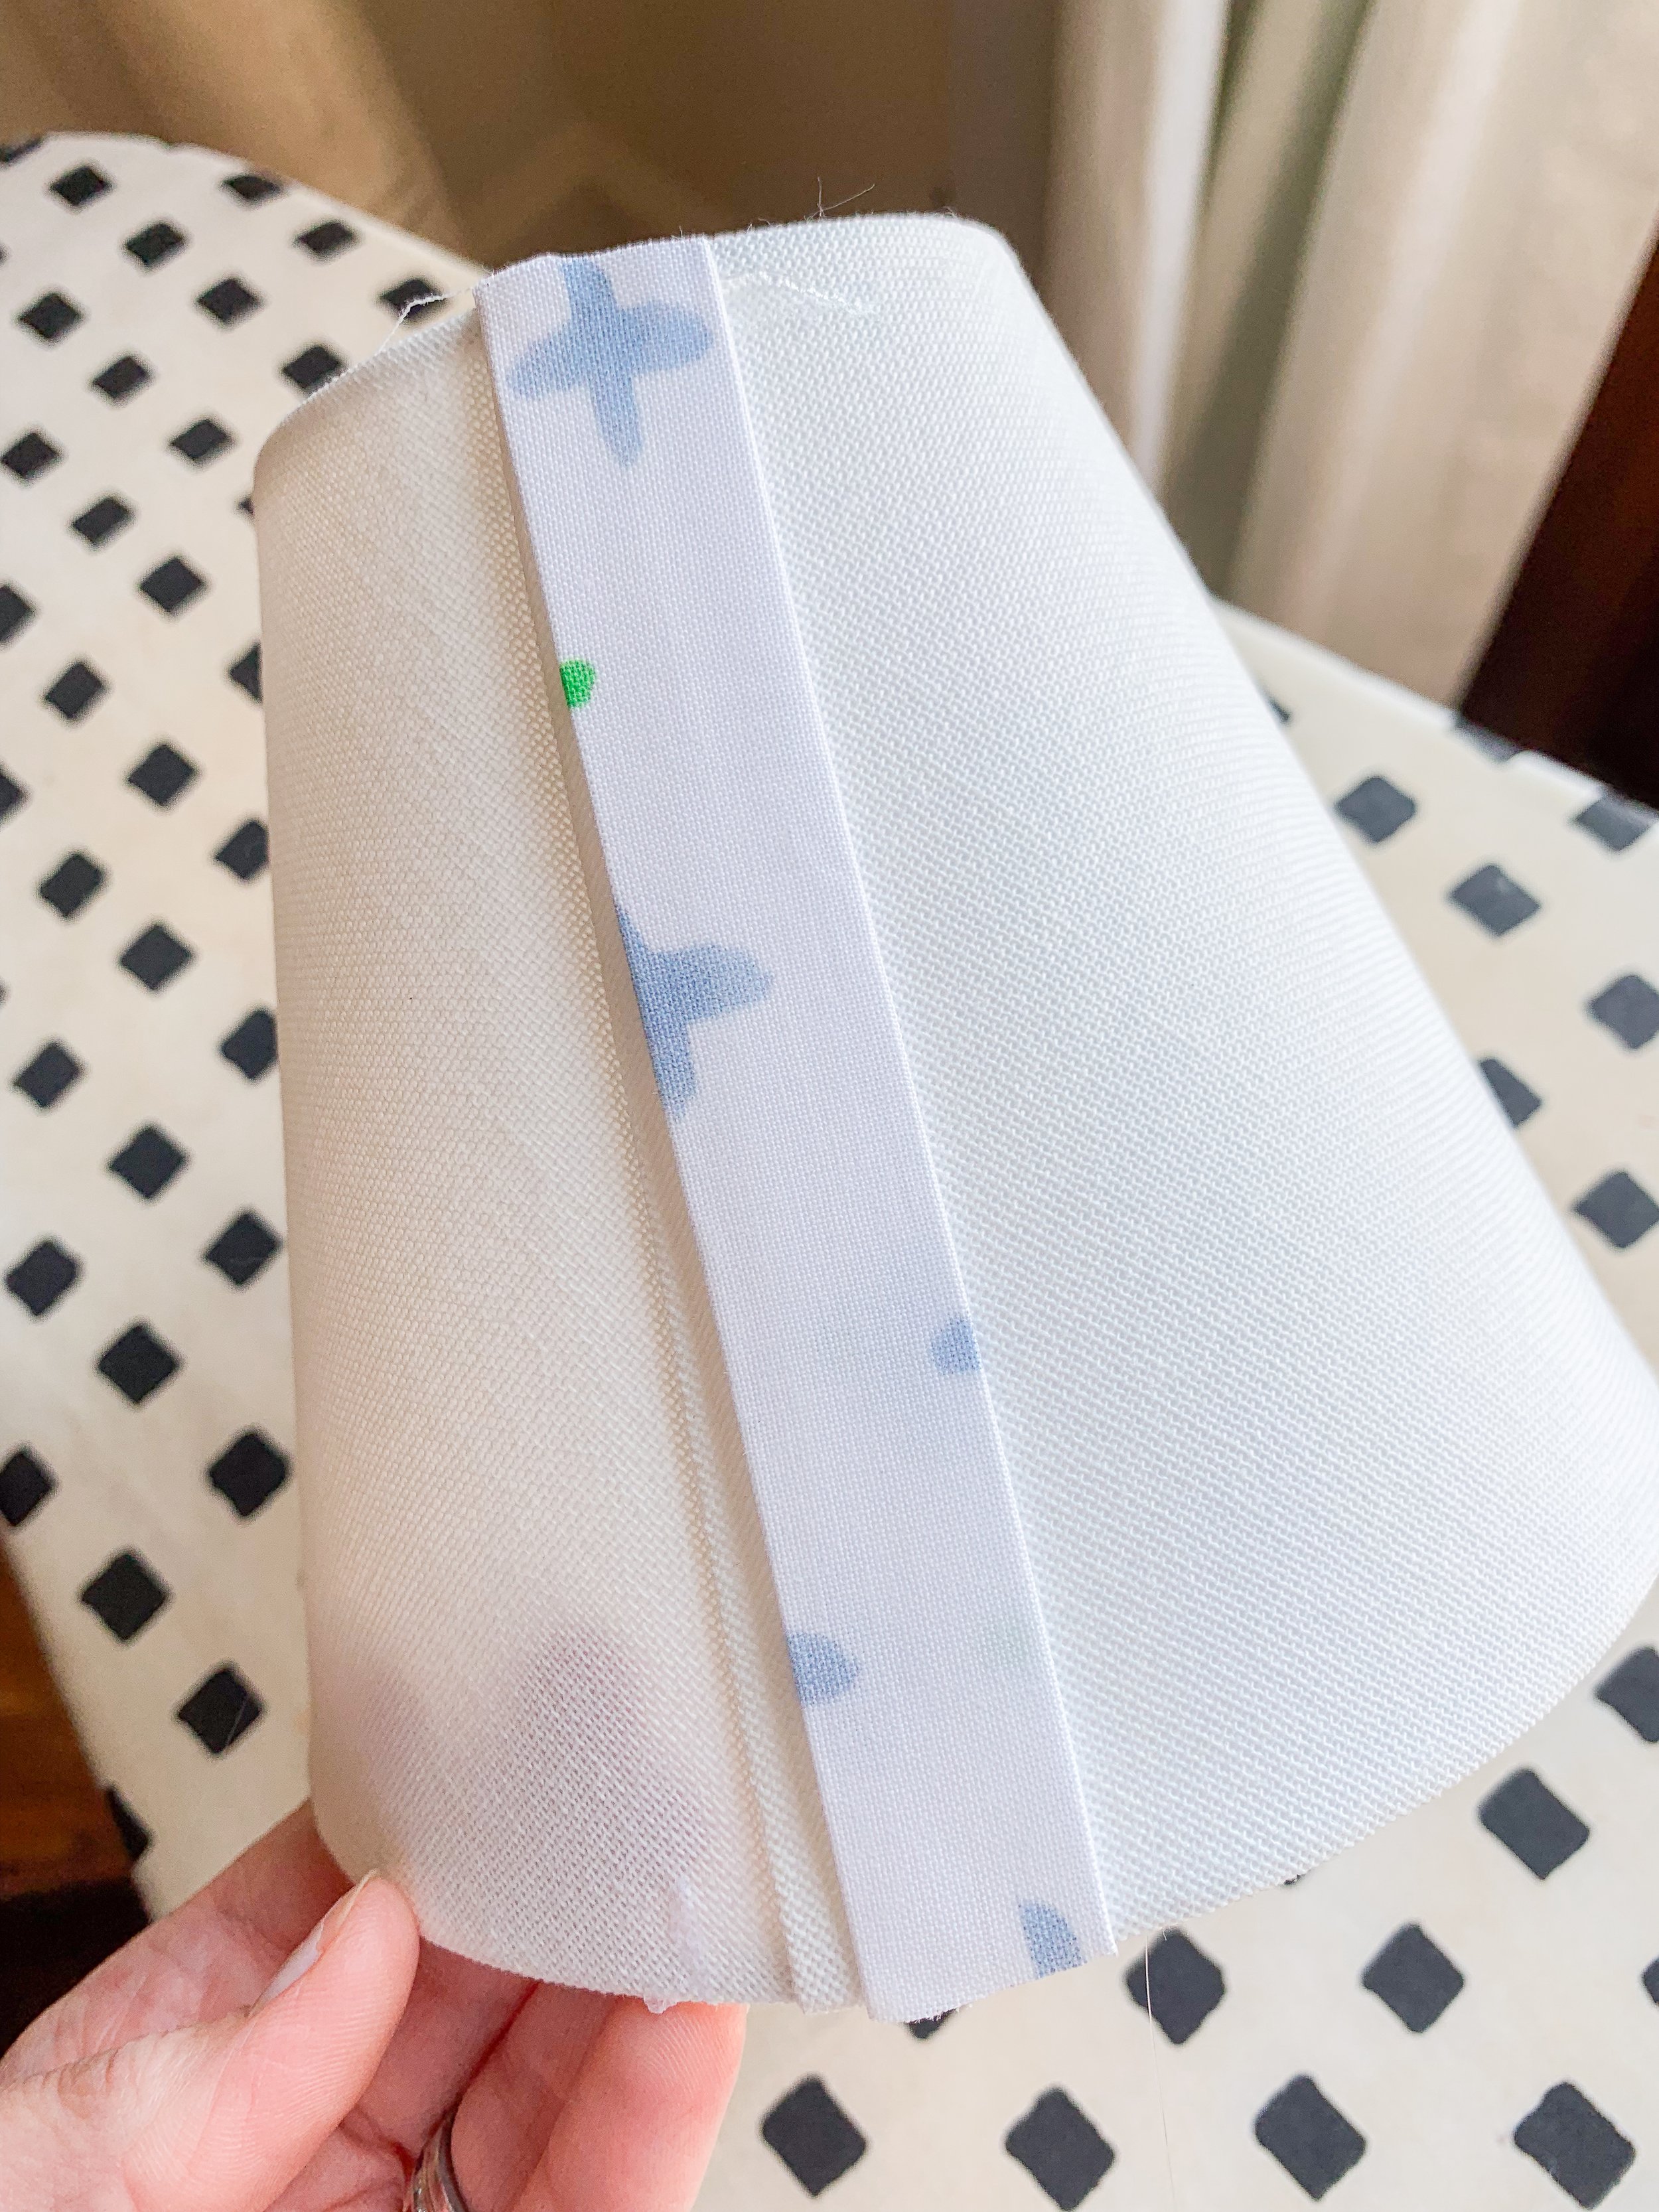
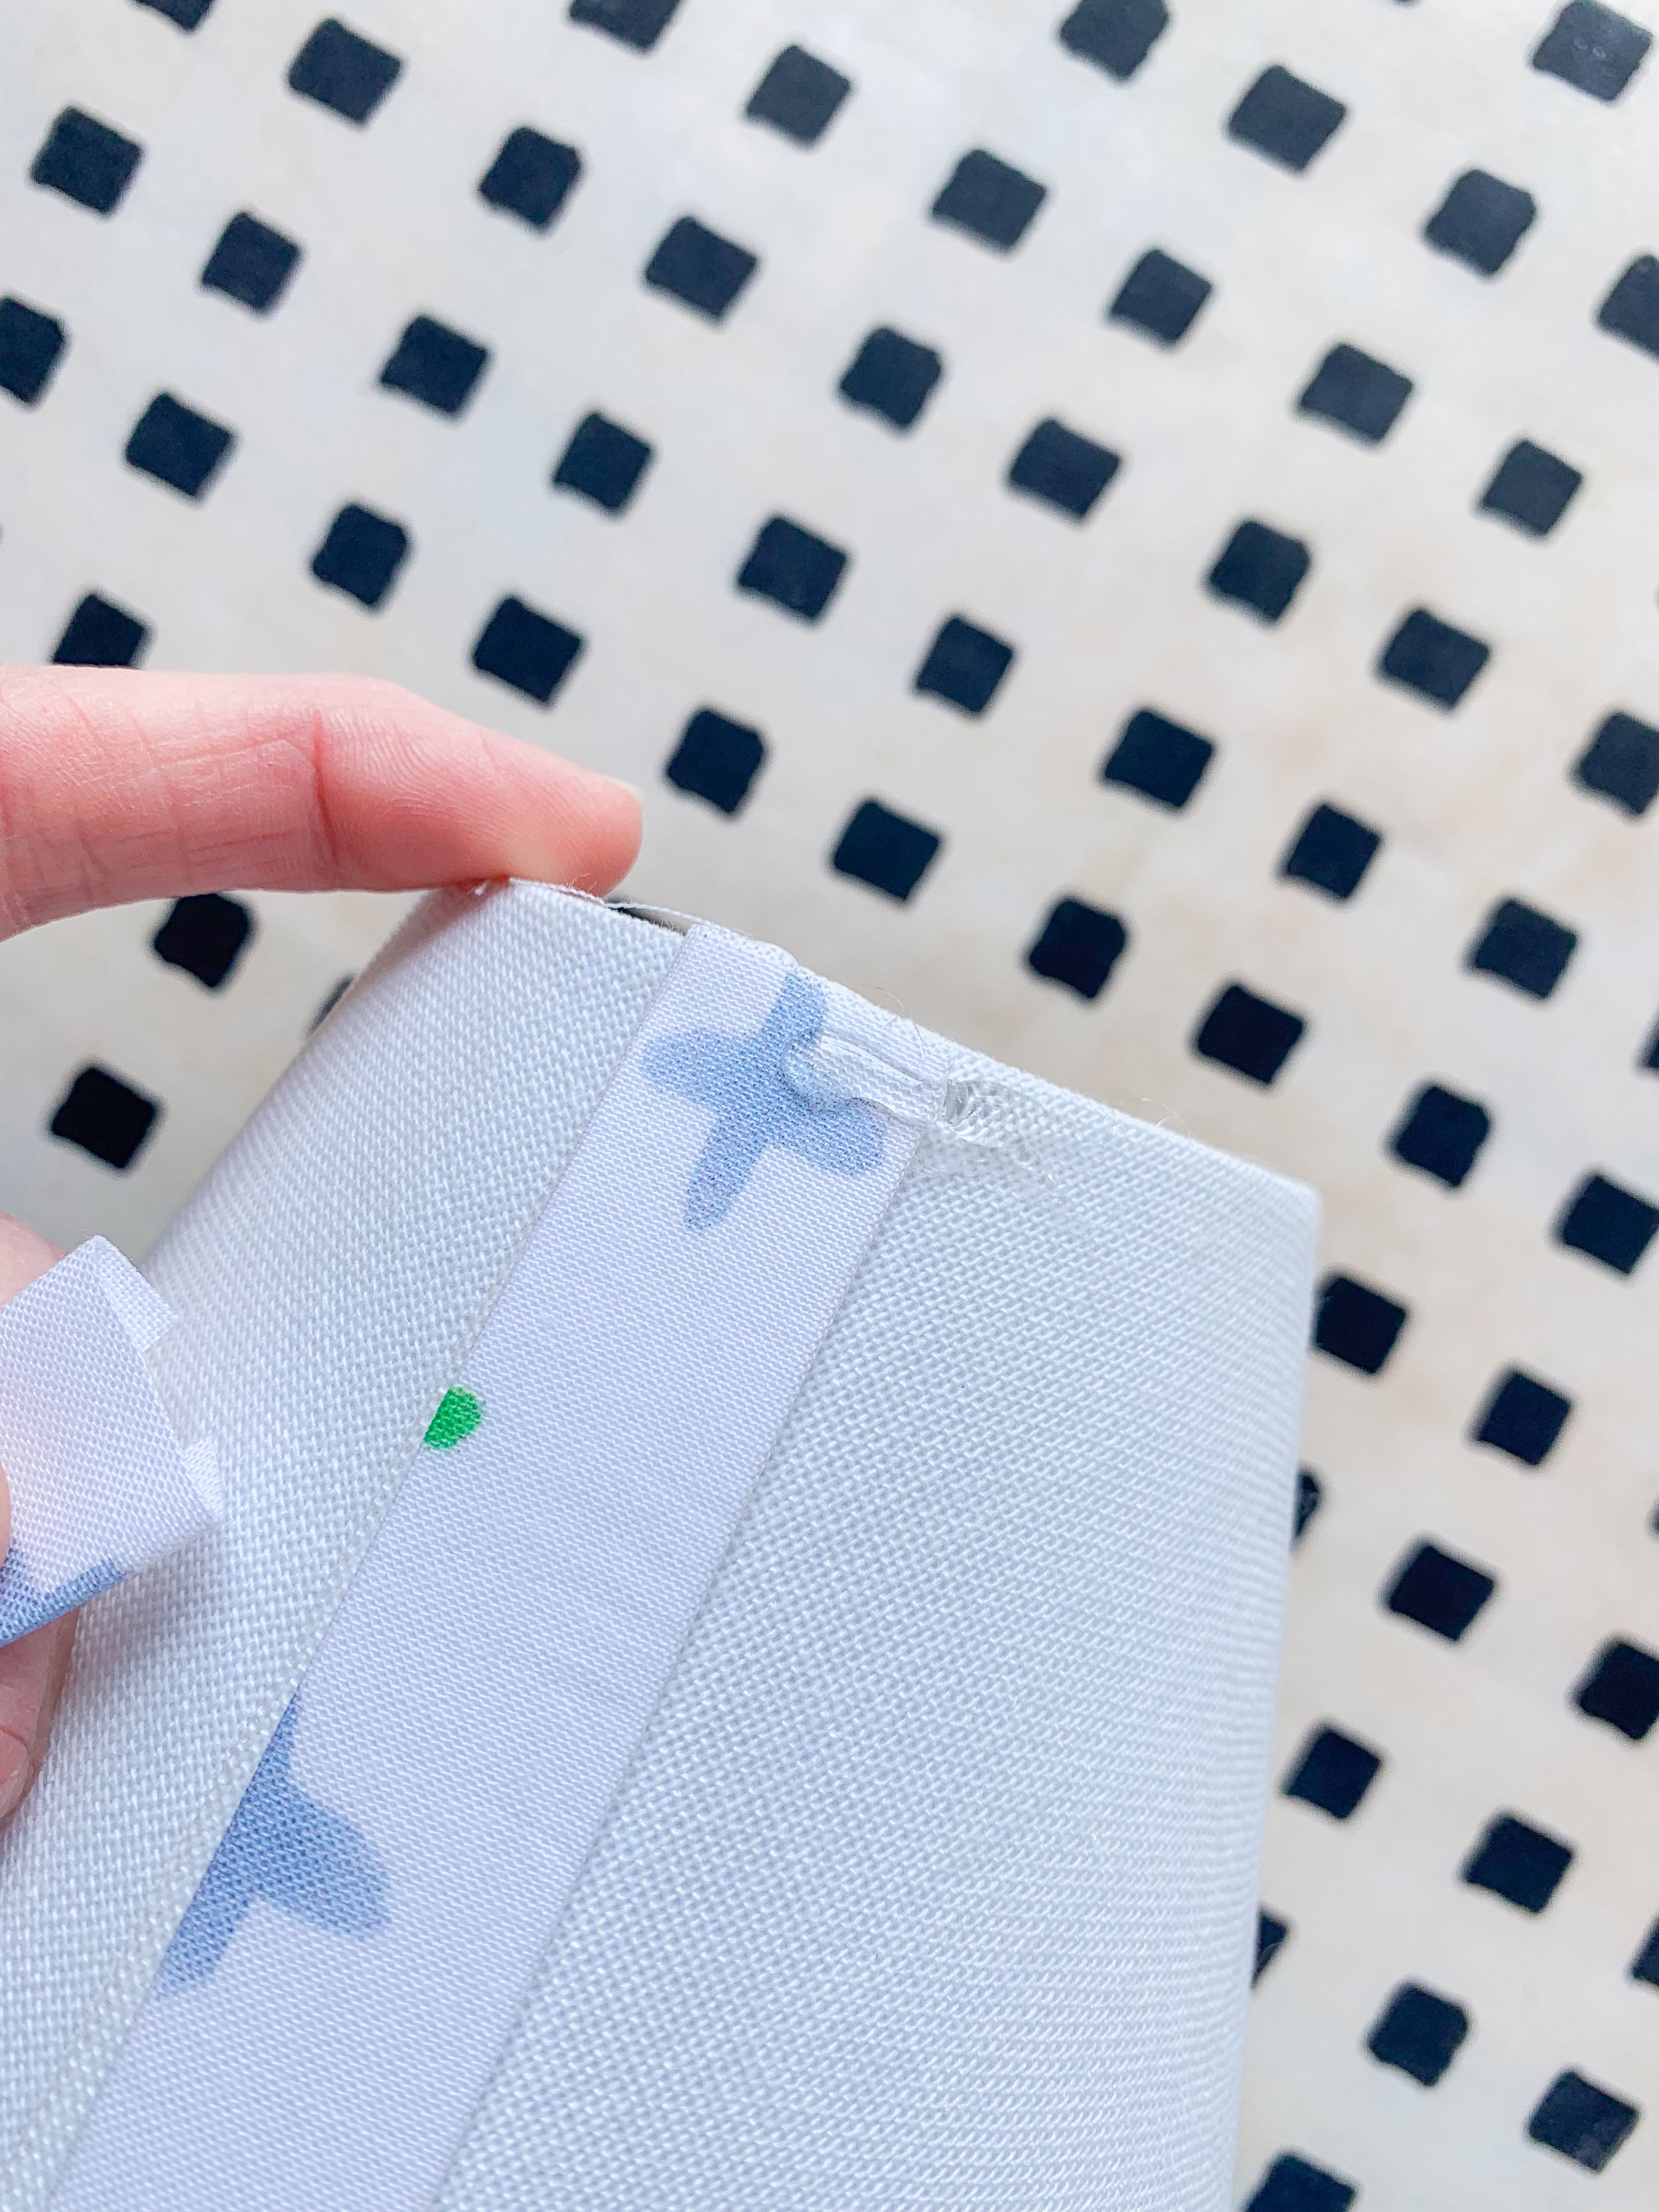
Step 6: Prepare and adhere the trim
Using your 1” bias tape pieces that we made in step 2 specifically for the trim, fold the fabric in half and iron down to create a thin, crisp strip. Using your hot glue gun, adhere your fabric trim to the top edge of the shade. The edge of the trim should be flush with the edge of the shade, without going over. Continue working all around the shade to adhere the strip. I find that it helps to pull the trim piece taut against the shade as you work your way around. This will aleviate any ripples that may arise when adding the trim. Once you are all the way around and ready to finish, fold a small bit of fabric under, and overlap the ends, and glue down again. Repeat process to add trim to the bottom of the shade.
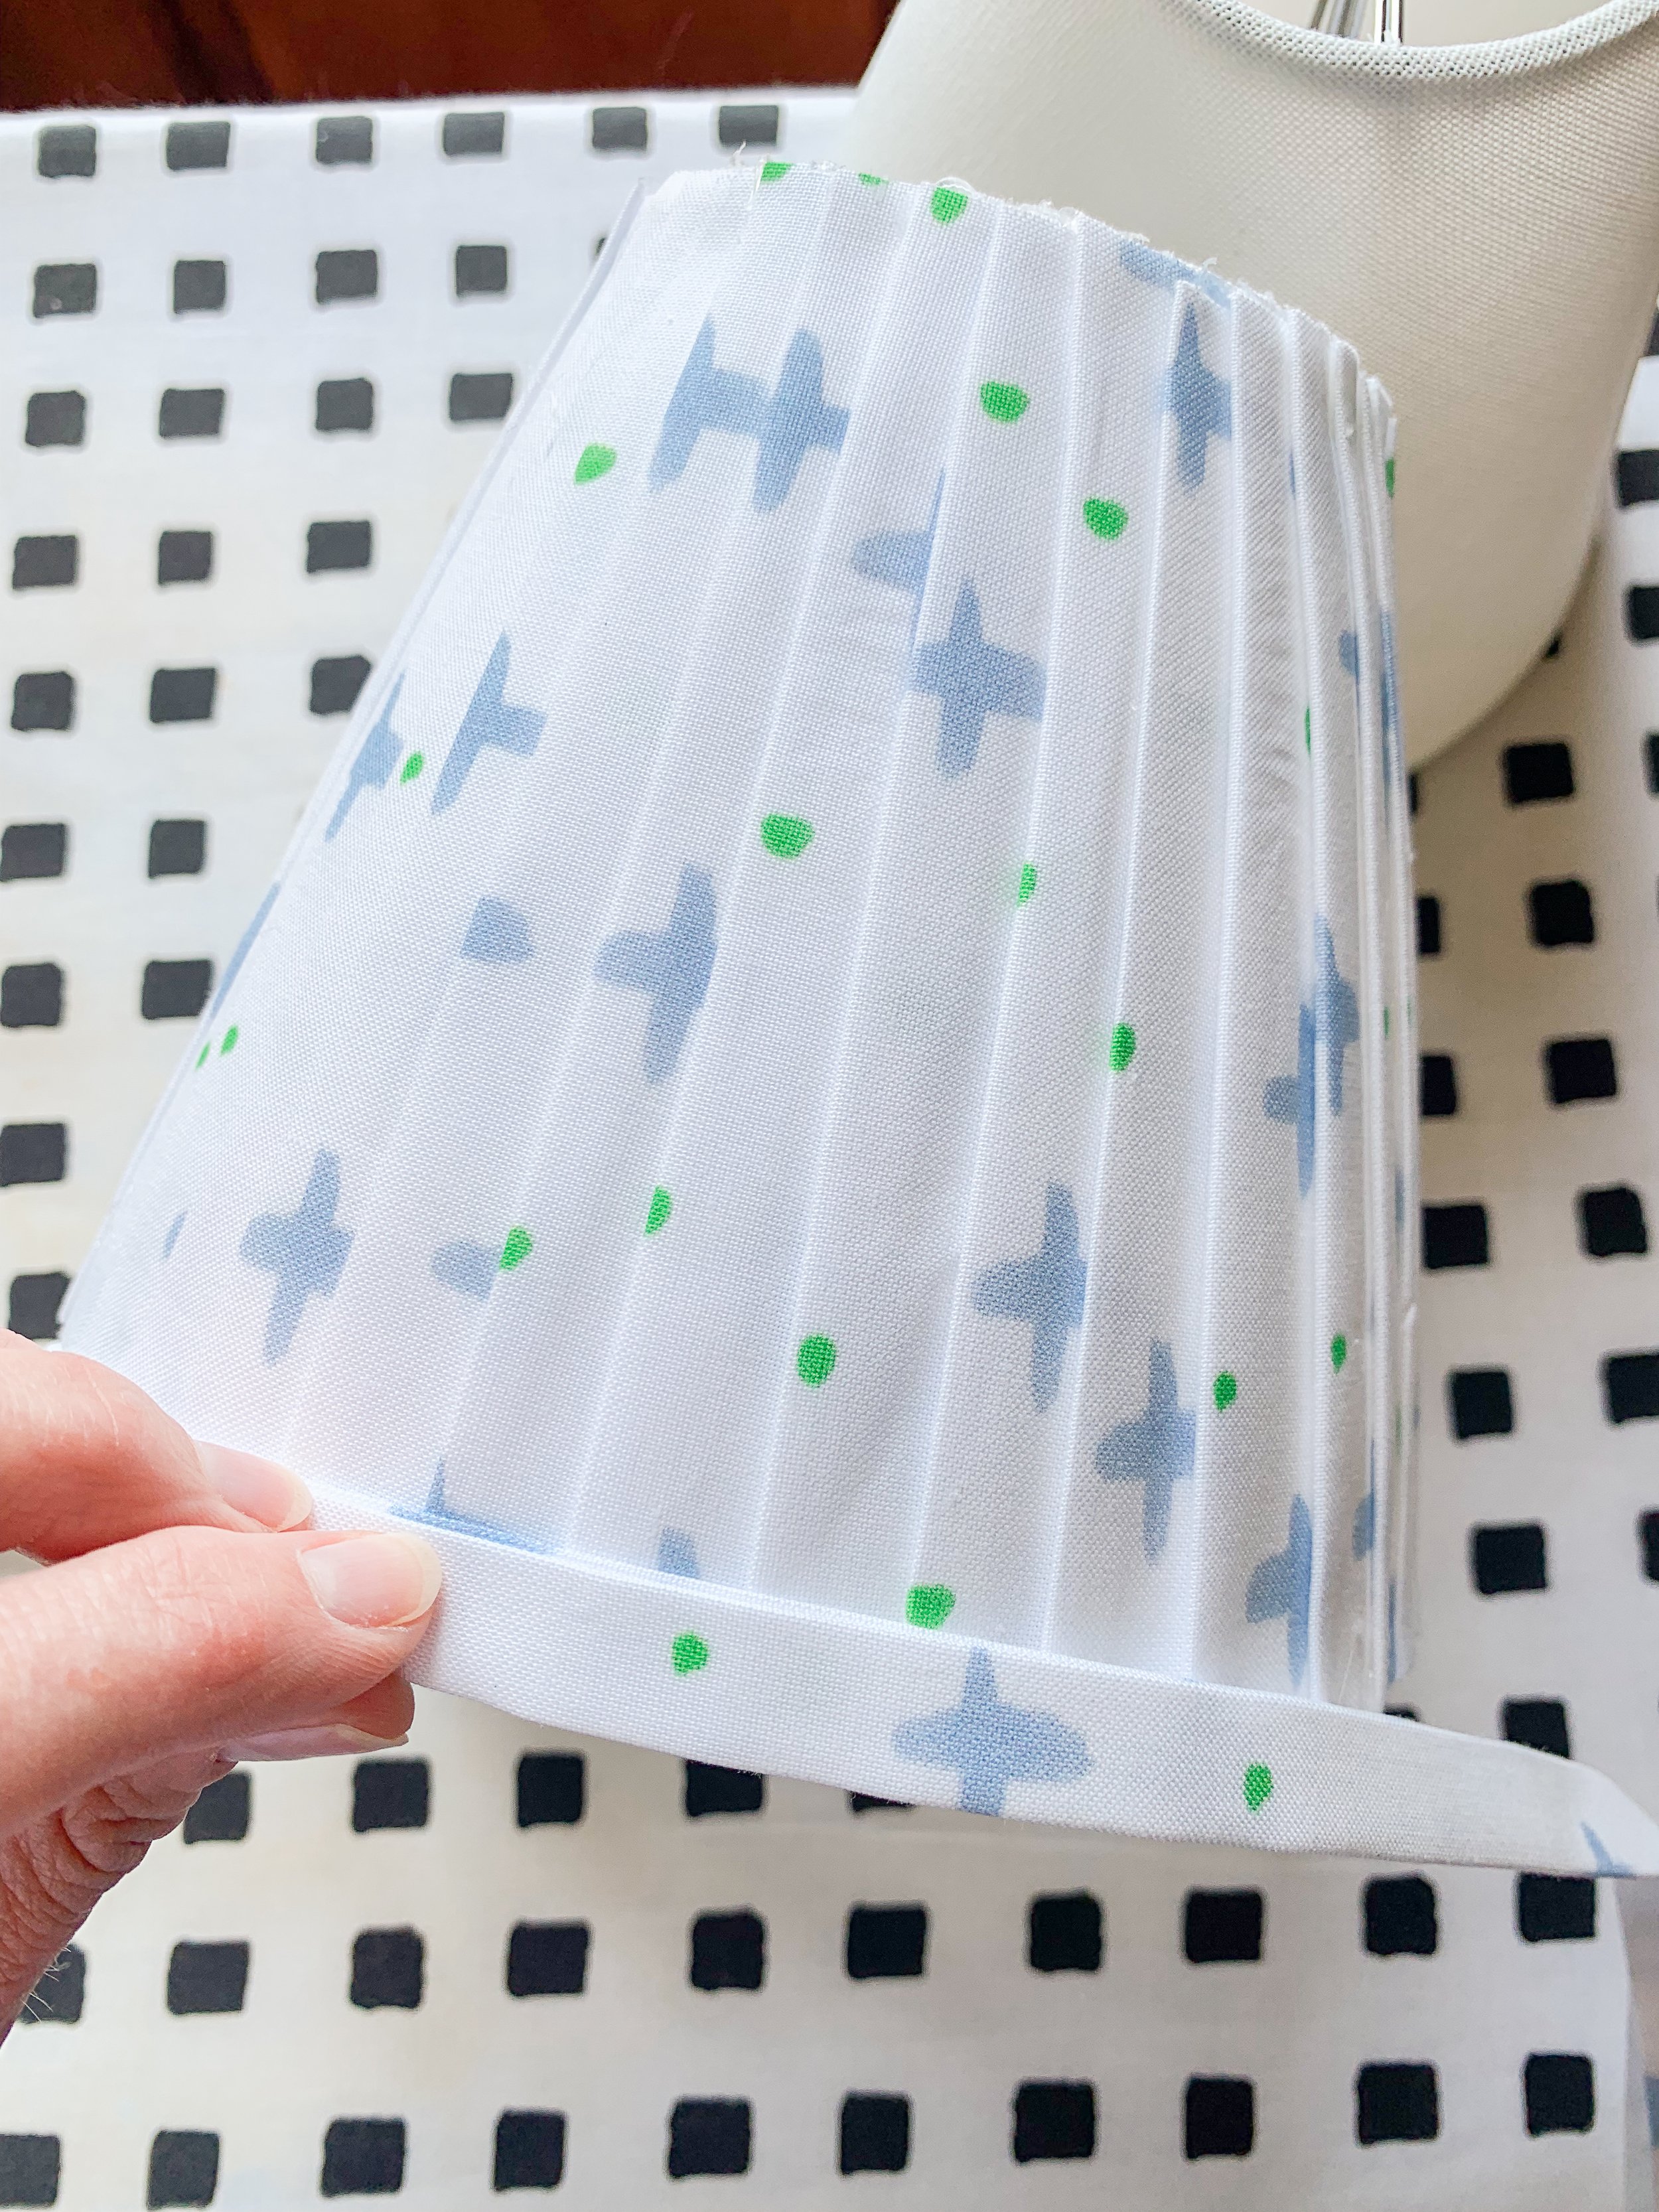

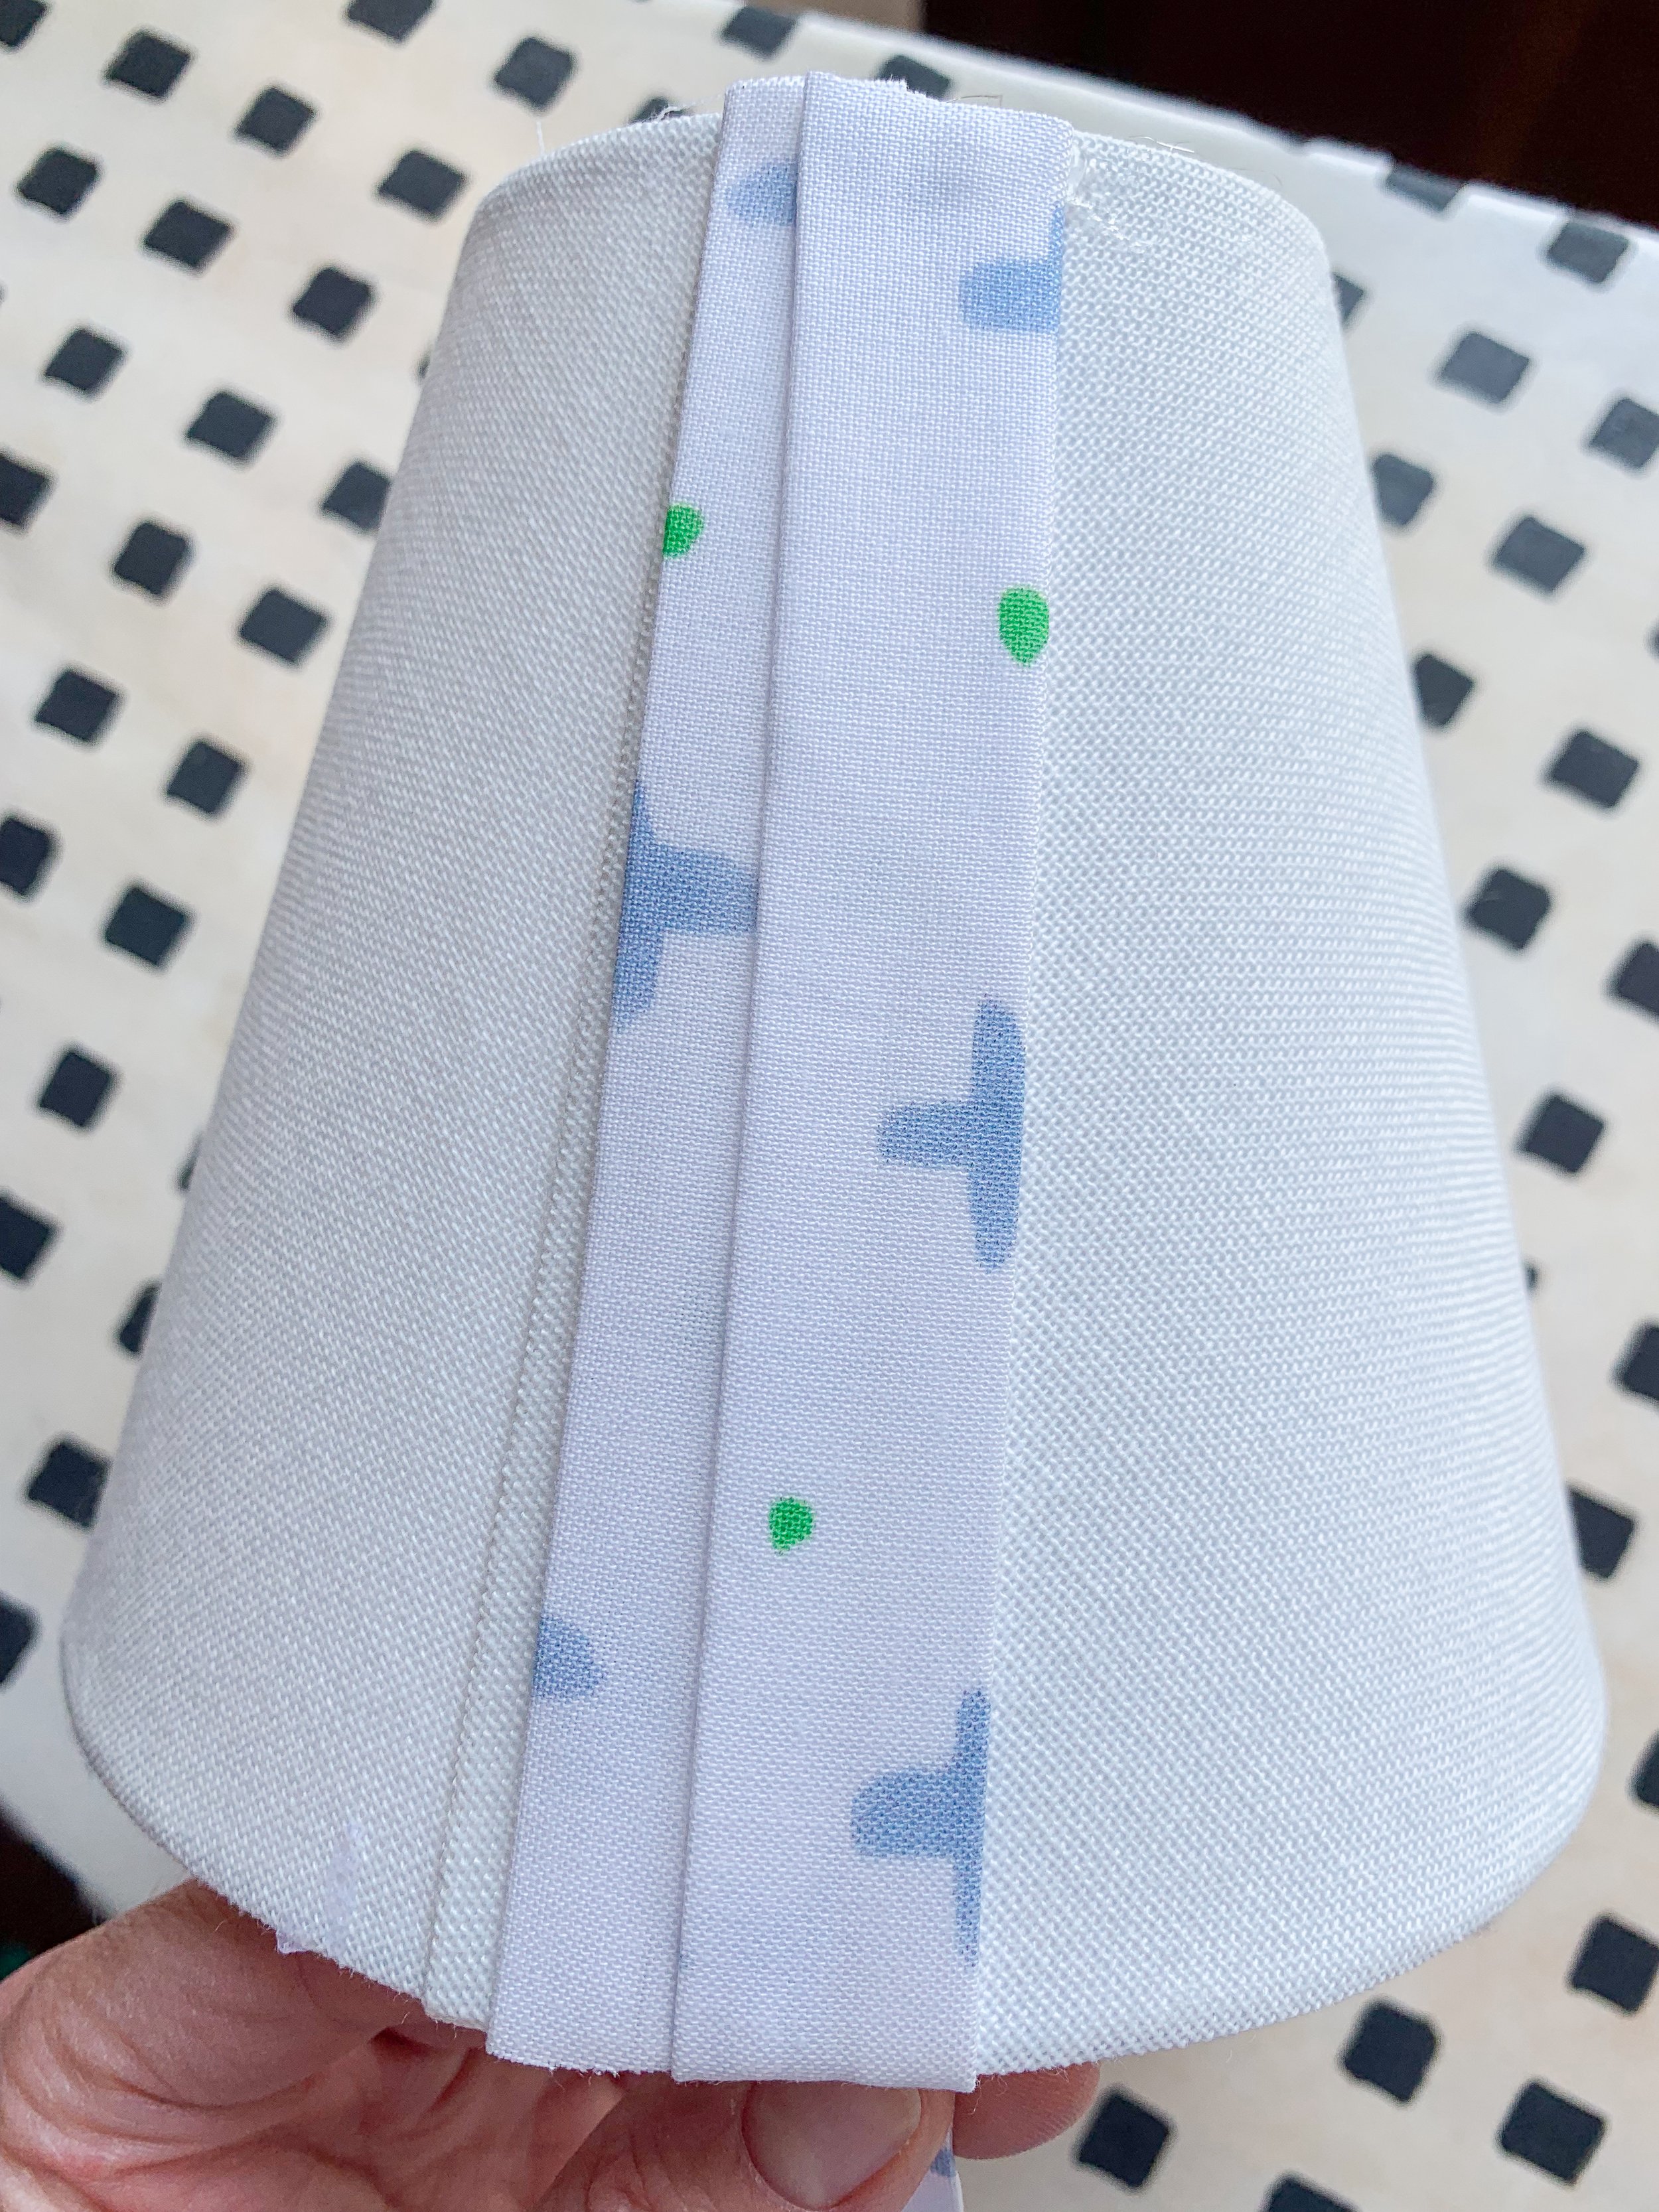
Step 7: Admire your handiwork!
You’ve just finished your own fabric covered lampshade! I knew you could do it! Now you need to decide which lampshade needs replacing next! Send me pictures of your project, I’d love to see your creation!